Planning – Interior systems
![]() Switch to Roomprocessing.
Switch to Roomprocessing.
Select this symbol or click the right mouse button and select “room editor” (F2).
Select ‘create interior’ ![]() Now you will see the promptbar and a dialogue of sliding doors settings. Here you can insert the sliding doors.
Now you will see the promptbar and a dialogue of sliding doors settings. Here you can insert the sliding doors.
Selection:
– interior system (Ecoline / Legno)
– Uno
– Cornice
For interior system (Ecoline / Legno)
– Enter the depth, height and number of fields
– Define the starting point of the front by clicking on the work area with the left mouse key (check current cursor grid)
– Define the length and direction of the interior system using the mouse or console (see Wall)
– Use the ESC key to finish creation
The system must be drawn in a clockwise direction! Otherwise the back of the interior system will be at the front: this can be checked by double-clicking the interior system.
Create interior system (in 2D view / room)
Possibility A: Create an interior system with the mouse
With a left click on the view you set the starting point for the interior system. Move the mouse to your desired point and click left again. You can fix four such points. Stop this process with pressing “Esc”. An interior system cannot be built unless you fix at least two points.

Possibility B: Create interior system with the Promptbar
Fill in the needed commands to insert a wall.
Properties window depends on interior system
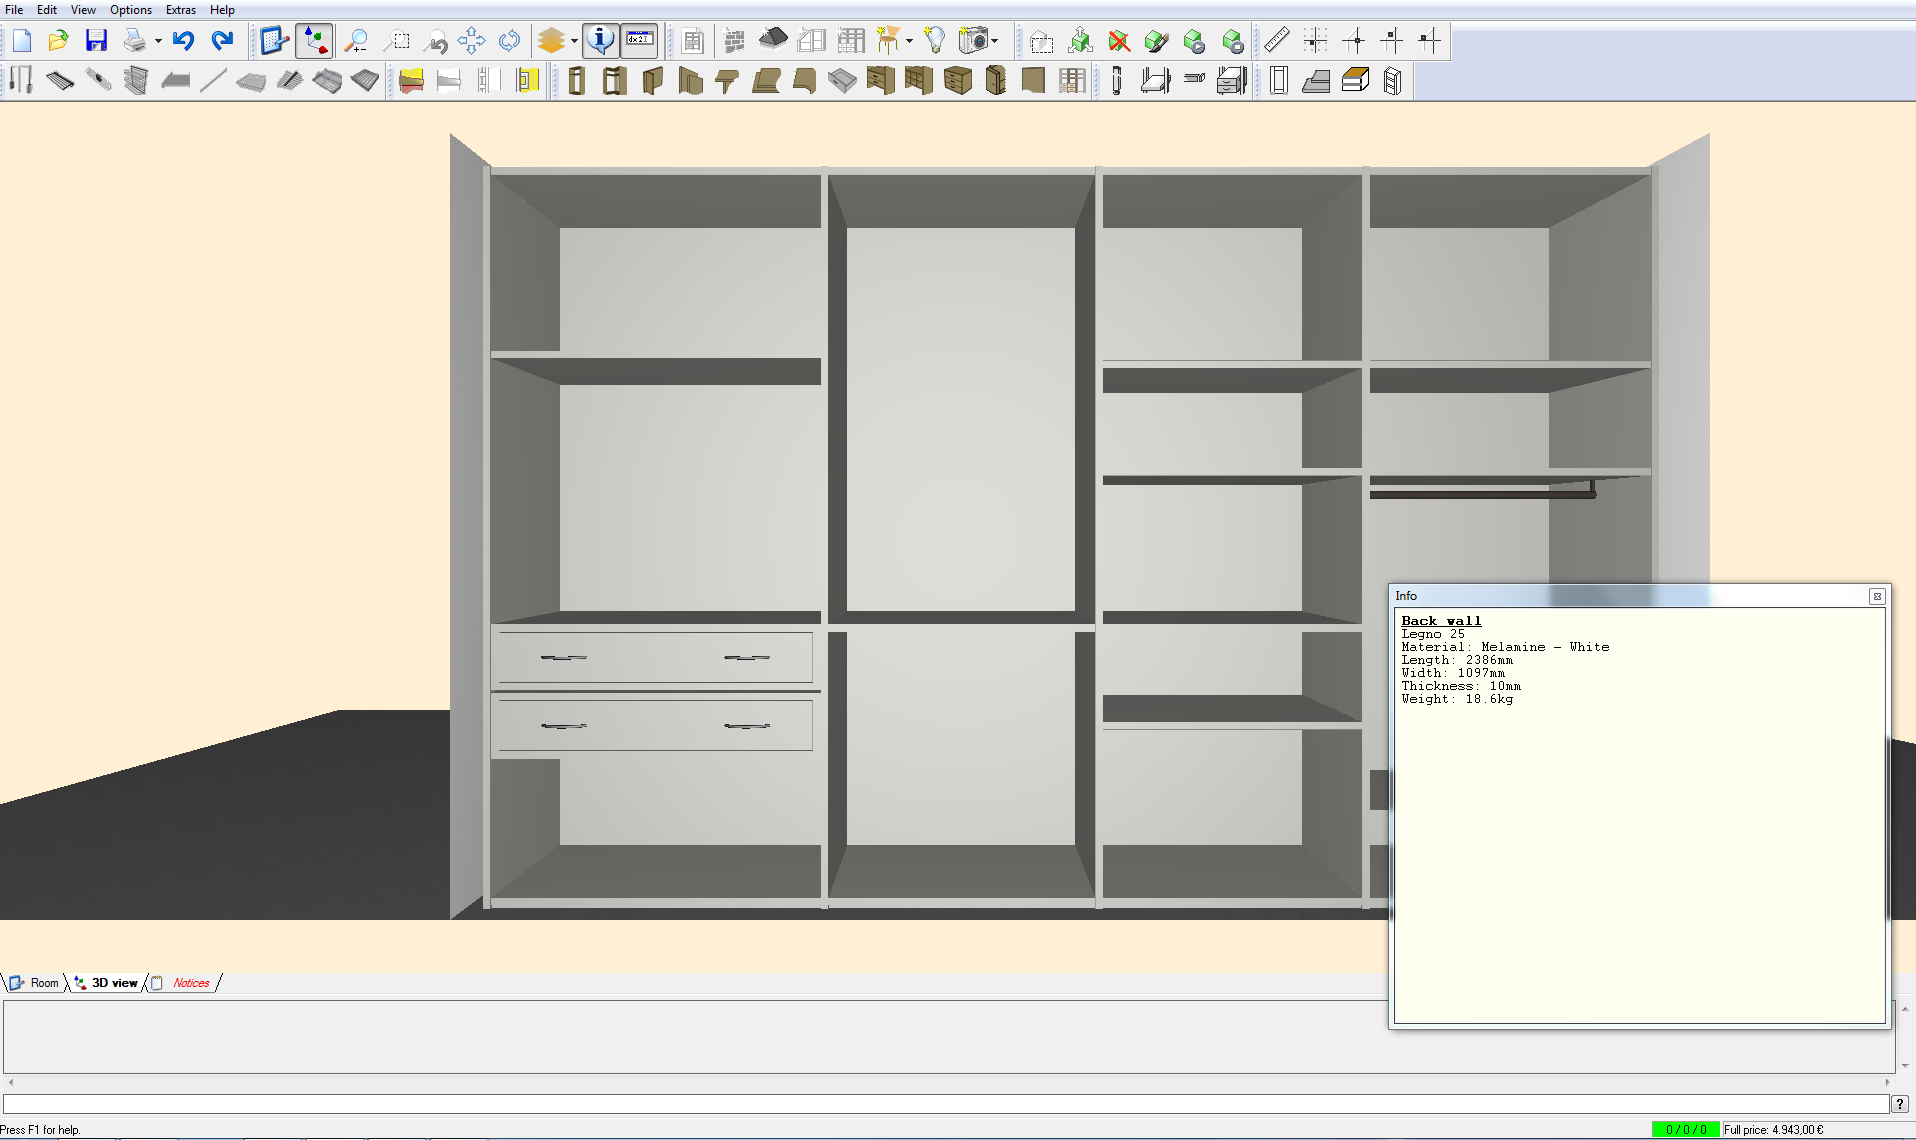
– The interior system properties are displayed in the info window (3D view)
– The interior system properties can be changed using the corresponding pop-up menu (right mouse key on interior system → Properties)
– The pop-up menu includes different options depending on the object selected:
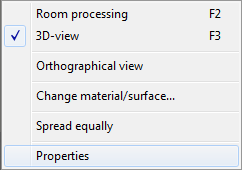 Ecoline on adjustable shelves
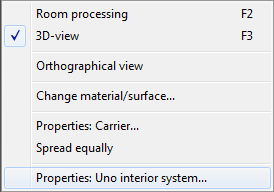 Uno on carrier profiles
 Cornice on revolving shelf
Legno on adjustable corpus (Carefully! Properties window same like Ecoline)
Details of the interior system
With the right mouse button (2D-View (room) / 3D-View) you can open the dialogue for interior systems. Here you can change the dimension and more of the interior system.
In the the 3D-View you can add more elements:

→ Standard elements ![]()
– Ecoline and Legno standard elements and standard corner elements as per price lists
– Available in 2D view (room) and 3D view
– Select system line and dimensions, position them on the work area
– Dock additional modules
→ Cover material ![]()
– Filler strip (standing): circumferential without edge
– Outside (standing): edge at front, additional edges can be selected
– Other (lying): All edges can be selected
→ More classic elements ![]()
– Side, adjustable side, shelf, corner shelf, drawers, drawer corpus (hanging corpus), shelf structuring, drawer corpus (adjustable corpus), hinged door, rear wall
– Availability depend on the interior system series and the space required
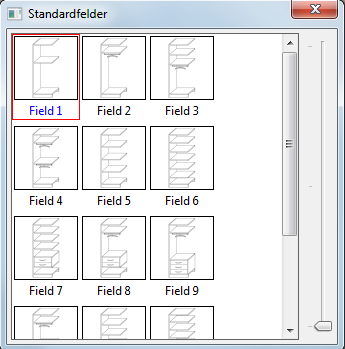
→ Standard fields ![]()
– Substitutes the previous content of a field with the selected standard field’s content. When doing so, any rear wall will be deleted.
– Further elements can be added
– At the end the rear walls are inserted, if desired (rear walls require at least 12mm distance to the wall behind them)
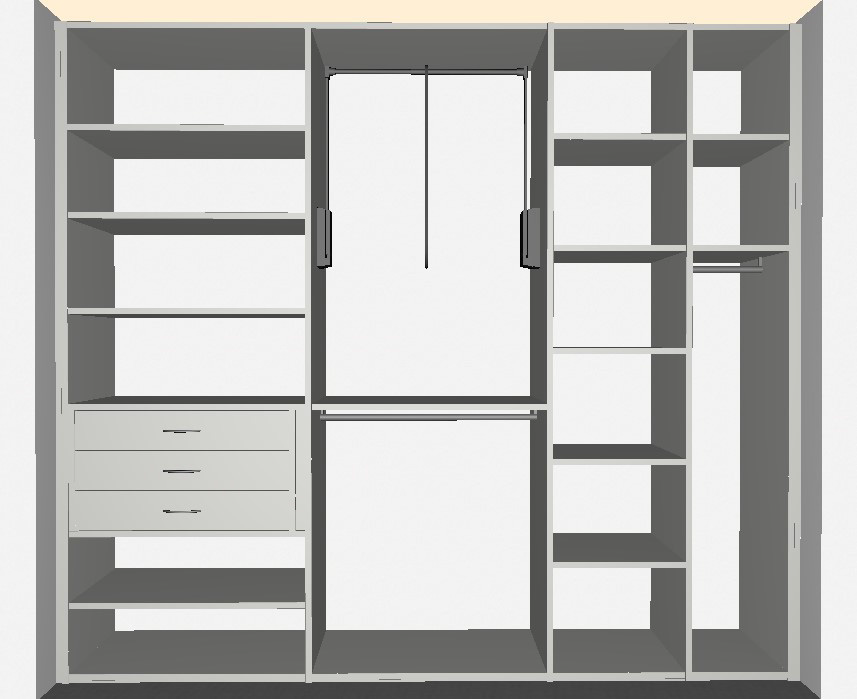
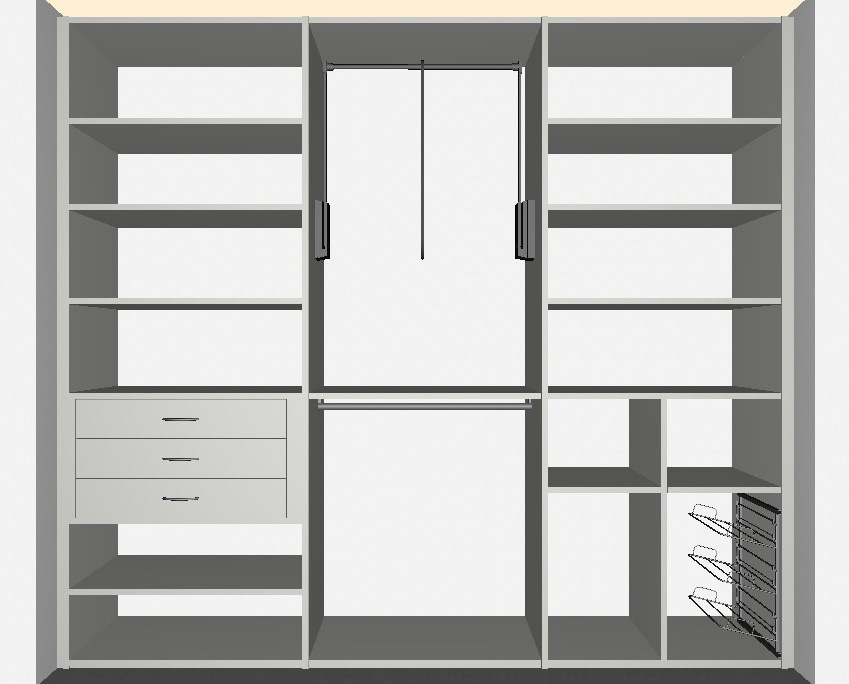
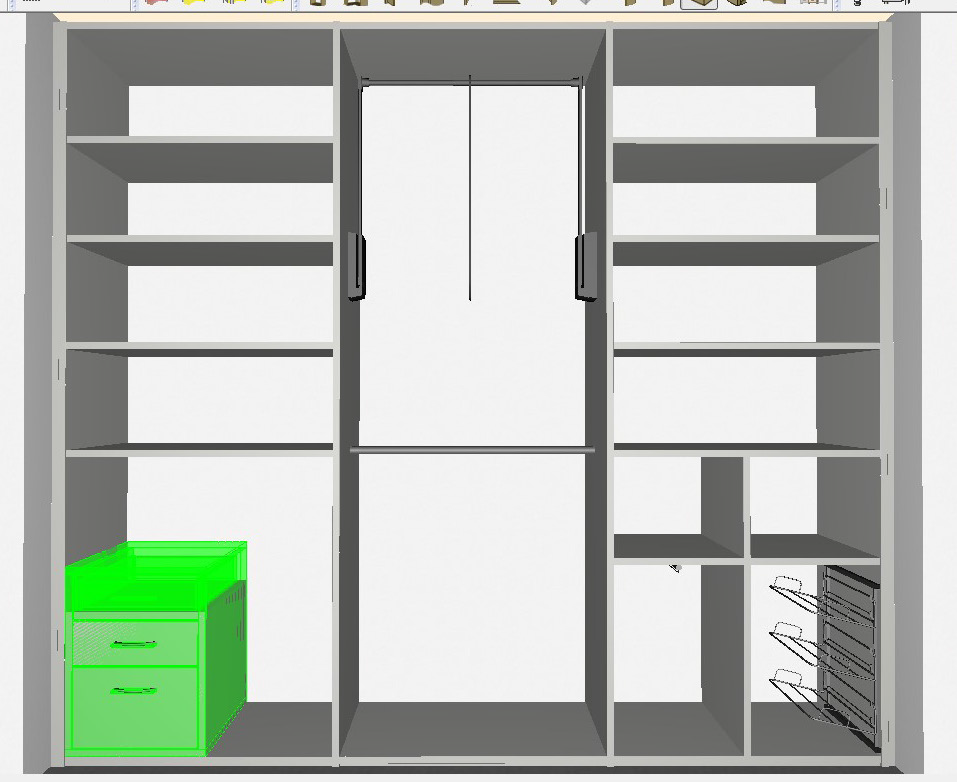
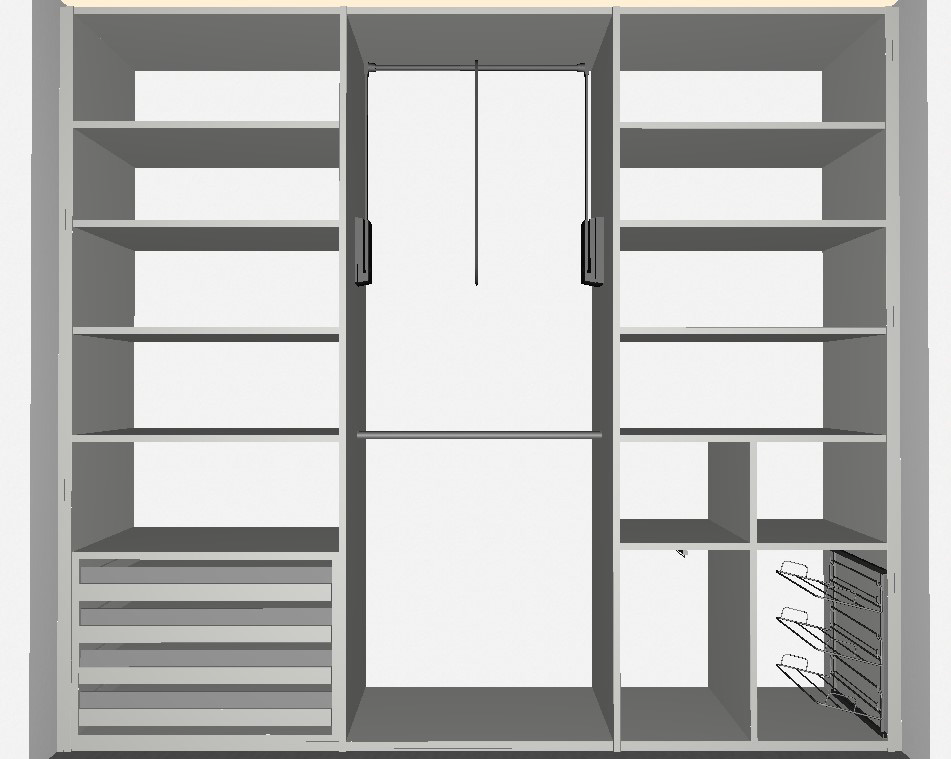
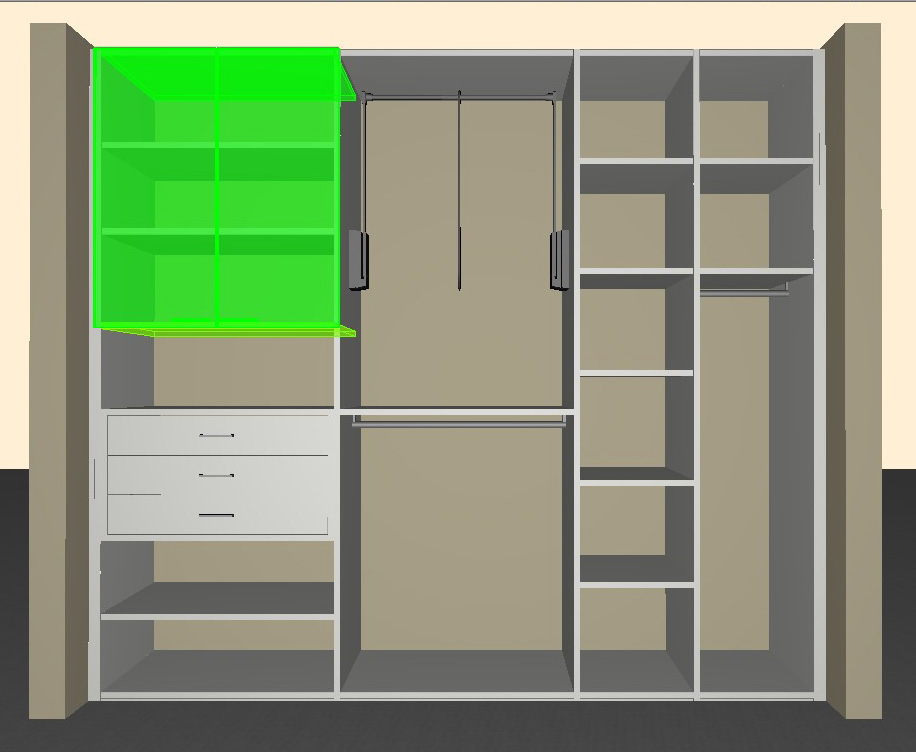
How to continue planning on the basis of standard fields
– Resolving errors: Drawer pop-up menu → Change width duplication from ‘none’ to ‘right’
– Supplement drawers
– Add shelf bottom left; move drawers; spread upper shelves evenly
– Delete upper shelves in the central area and insert a clothes liftß
– Add a side to the right area, re-define the two new areas using the standard fields
– Spread shelves in the third area evenly
– Move shelves in the left area to the same height
Uno interior system toolbar
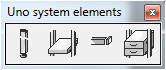
– Brackets, shelves, stabilization at the back or the side, drawer corpus
– Only available in 3D view
– One stabilizer per bracket is always required; two stabilizers are recommended for drawers and clothes lifts (due to the lateral force)
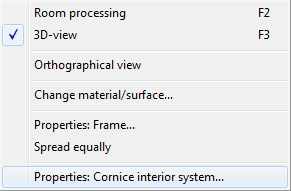
Cornice interior system toolbar
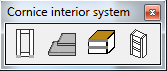
– Frames, shelves, chest of drawers, revolving shelf
– Only available in 3D view, chest of drawers also in 2D view (room)
– Revolving shelf requires a frame height of min. 2225mm
Accessories toolbar

– Only available in 3D view
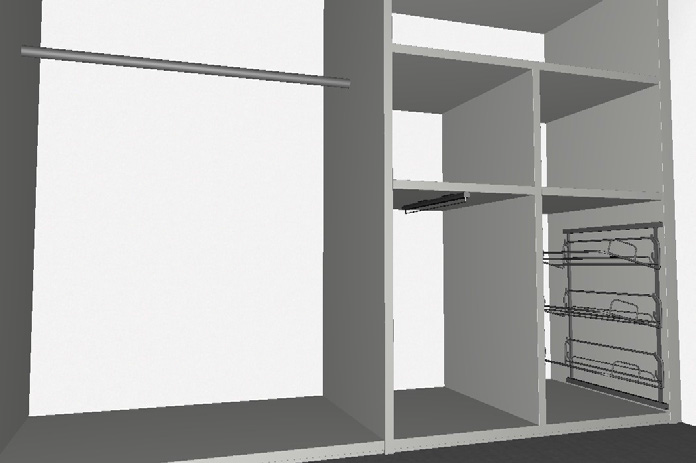
– Clothes lift, trouser pull-out SV, pull-out tie rack, shoe holder, pull-out shelf, clothing rail, basket, trouser pull-out ES, shoe rack, trouser pull-out with front cover
– Availability depends on the interior system series and the space required
How to hide the front in order to view the interior system
Select ‘Show or hide layers’ ![]() The list depends on the objects being inserted:
The list depends on the objects being inserted:
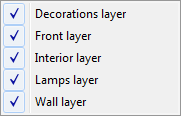
– Click the check mark of the layers that should be hidden
– The icon is yellow ![]() if at least one layer is hidden
if at least one layer is hidden
Example:
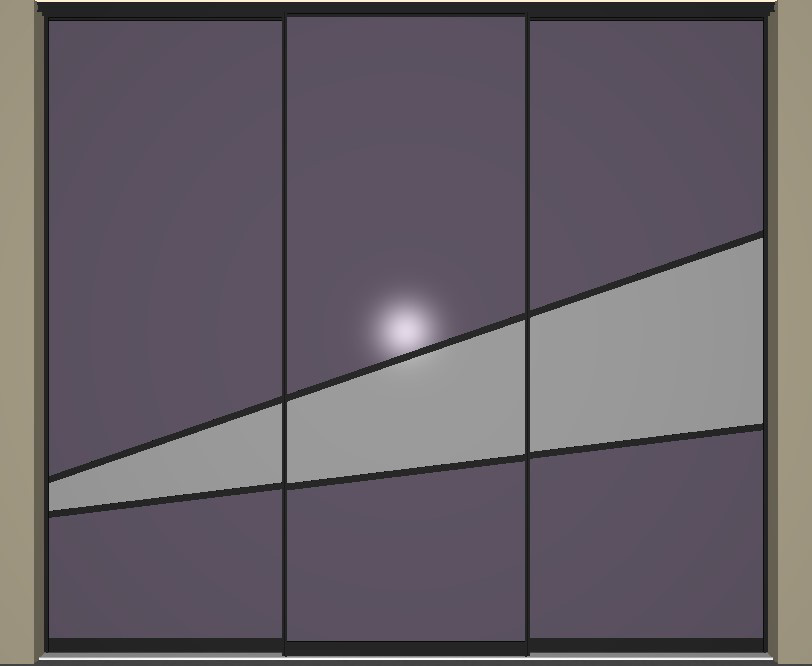
show Front layer
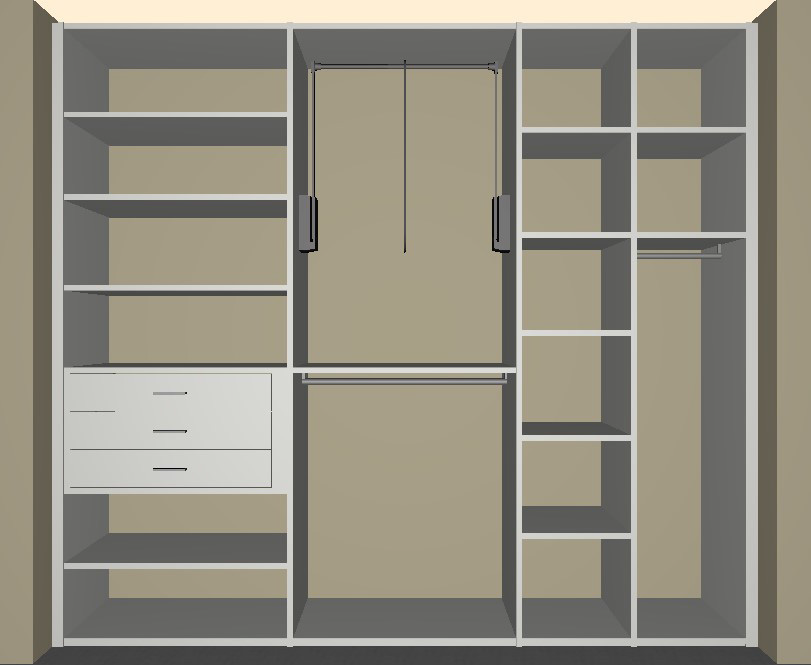
hide Front layer
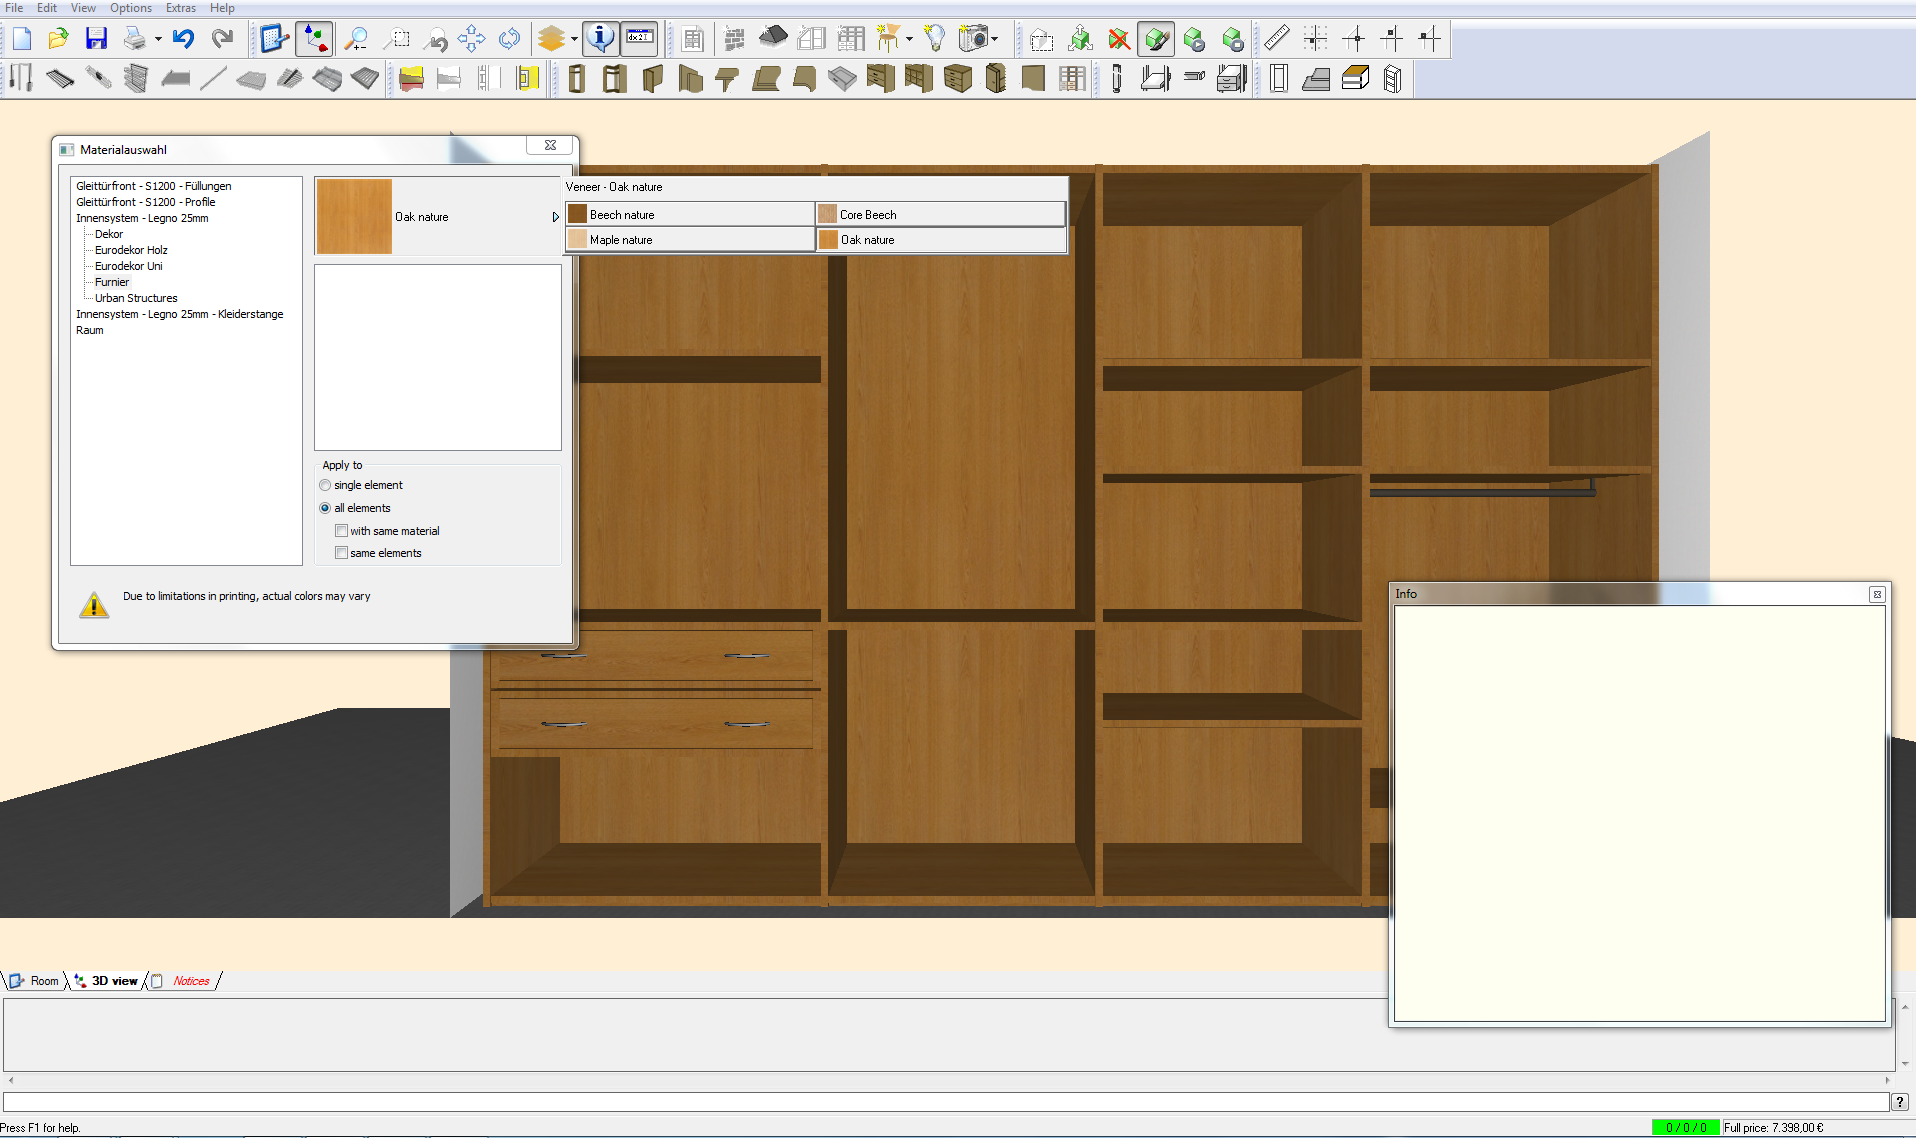
How to change the interior system surface
Select ‘Change material/surface’ ![]() Now you will see the promptbar and a dialogue of material/color settings:
Now you will see the promptbar and a dialogue of material/color settings:
Change all elements at one
1. Select the surface of the corresponding interior system
2. Apply to ‘all parts’
3. Click any interior system part
→ All interior system parts will be given the same surface
Change single element
1. Select the surface of the corresponding interior system
2. Apply to ‘single element’
3. Click certain interior system part
→ Selected interior system part will change surface
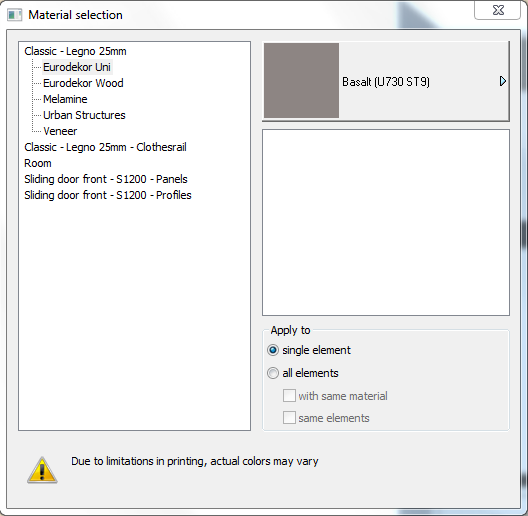
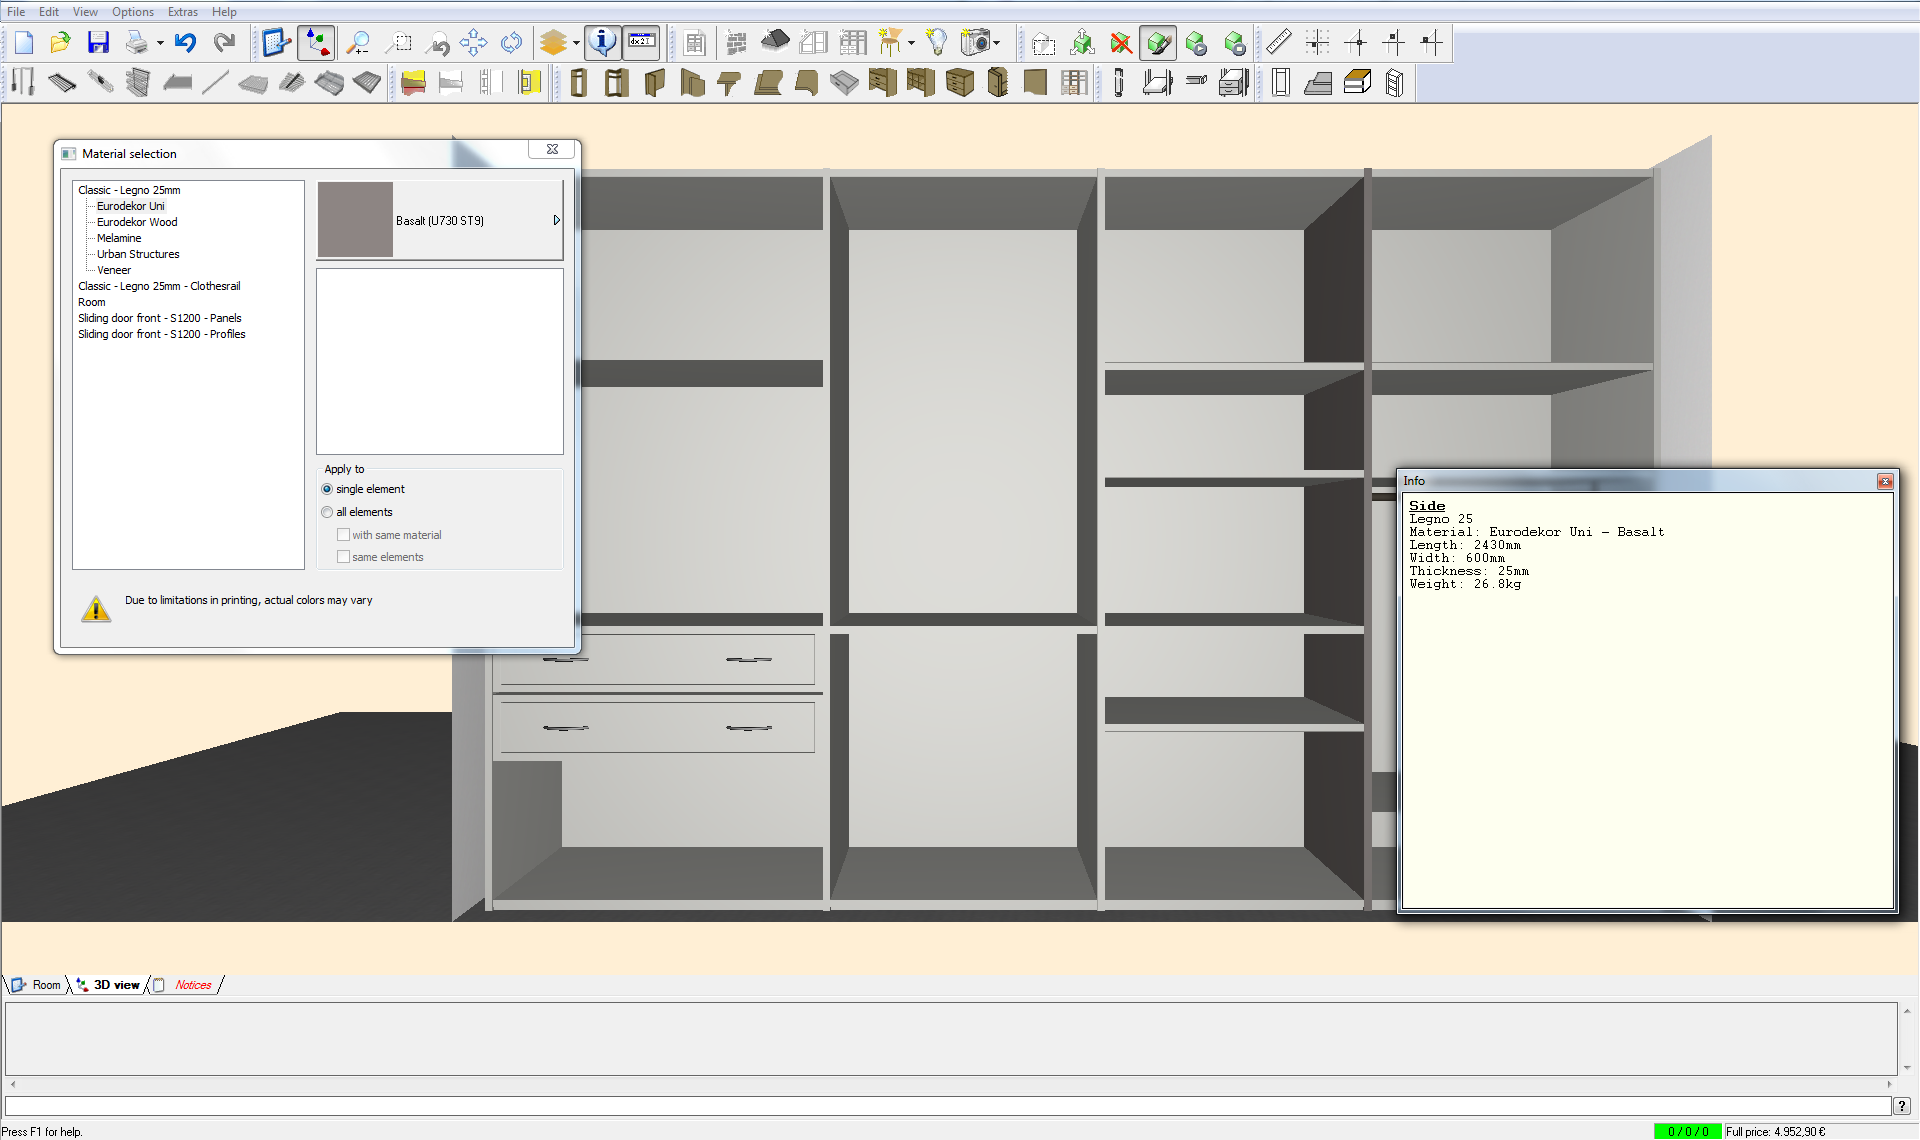
– Mouse on component → The info window will display the surface
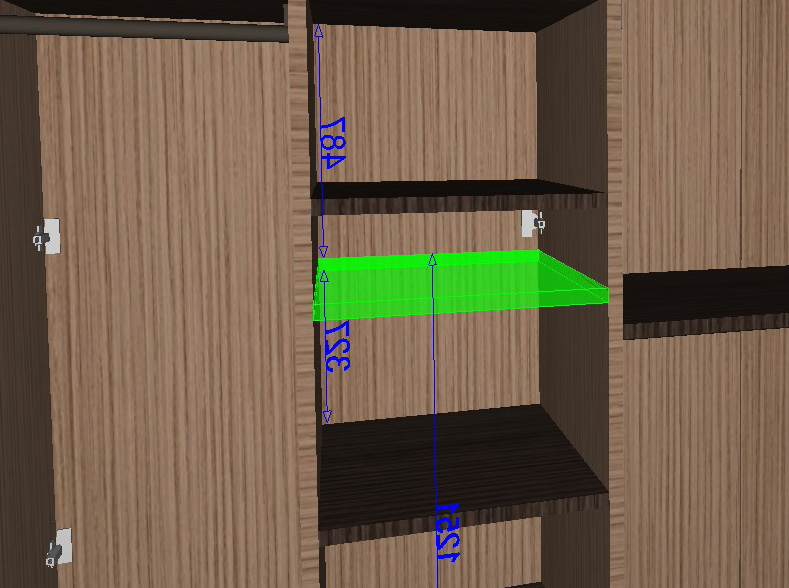
How to move interior system parts
Select ‘Move element’ ![]()
– Click element that should be moved → Move the element using the ‘console’
Example:
1. dx / dy: dx -1
2. r / l (rechts / links): r 463
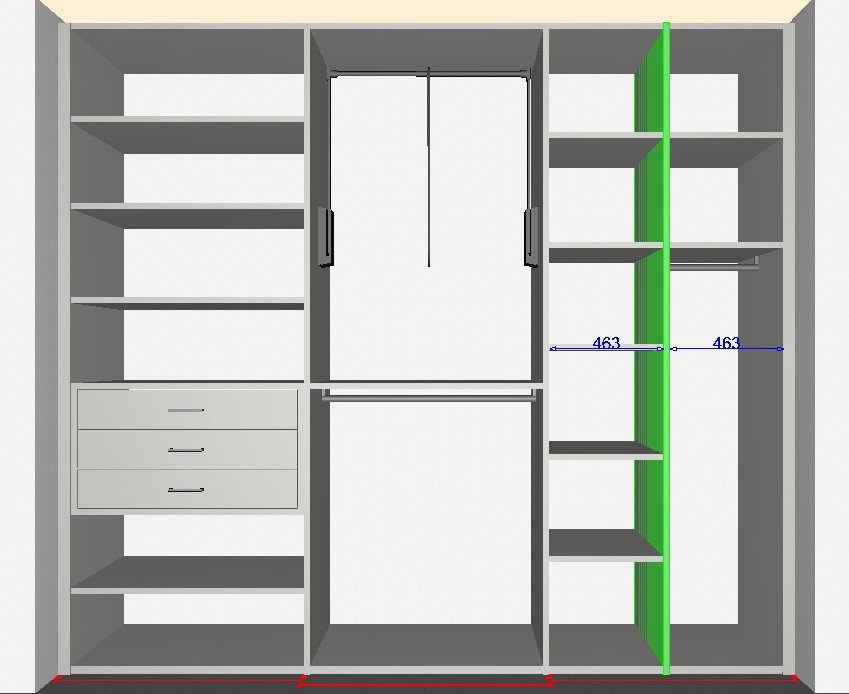
3. h: h 2580

This command can also be used as an efficient method to get Uno shelves and clothing rails on the same height.
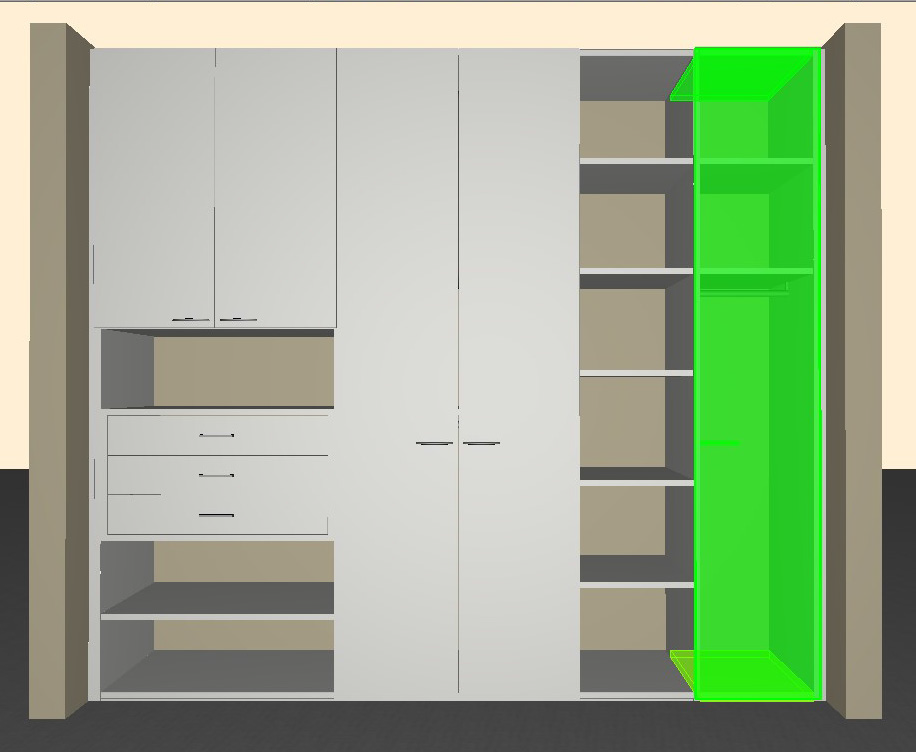
How to insert an adjustable side
Select ‘Insert adjustable side’ ![]() (In 3D view)
(In 3D view)
1.Select edge:
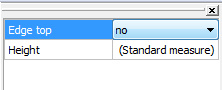
Edge at top: No → the side will be placed under a full-width shelf
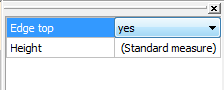
Edge at top: Yes → The side has one shelf on the left and one on the right
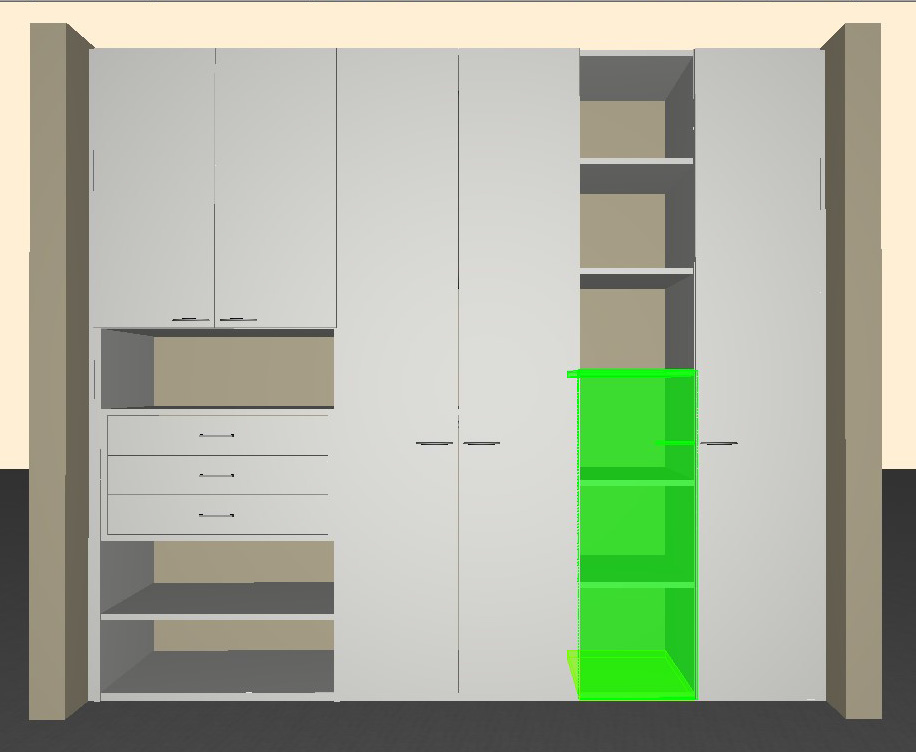
2.Select the correct height:
Incorrect height
Correct height
→ Move the side using l or r to create even area widths
→ Fit the areas with shelves and accessories
How to insert clothing rails and clothes hooks
Select for example ‘Insert clothes rail’ ![]() (In 3D view)
(In 3D view)
→ For clothing rail (on shelf), clothes hook and corner clothing rail click the desired shelf
→ for clothing rail (free) click the desired location within the area
→ Deactivate the command by clicking the item
How to plan an adjustable corpus for drawers (only Legno)
Select ‘Insert standing drawer corpus’ ![]() (In 3D view)
(In 3D view)
Property window (on the right side)
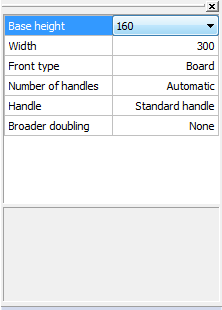
– Select one of the two Base heights
– Enter the Width → area width or less
– Select the Front type → facing or glass front
– Select Number and type of handles (only for the facing front type)
– Select width Broader doubling
– Click the location in the area
– Click again to insert more drawers into the corpus; the basic height can be changed
– Deactivate the command by clicking the item
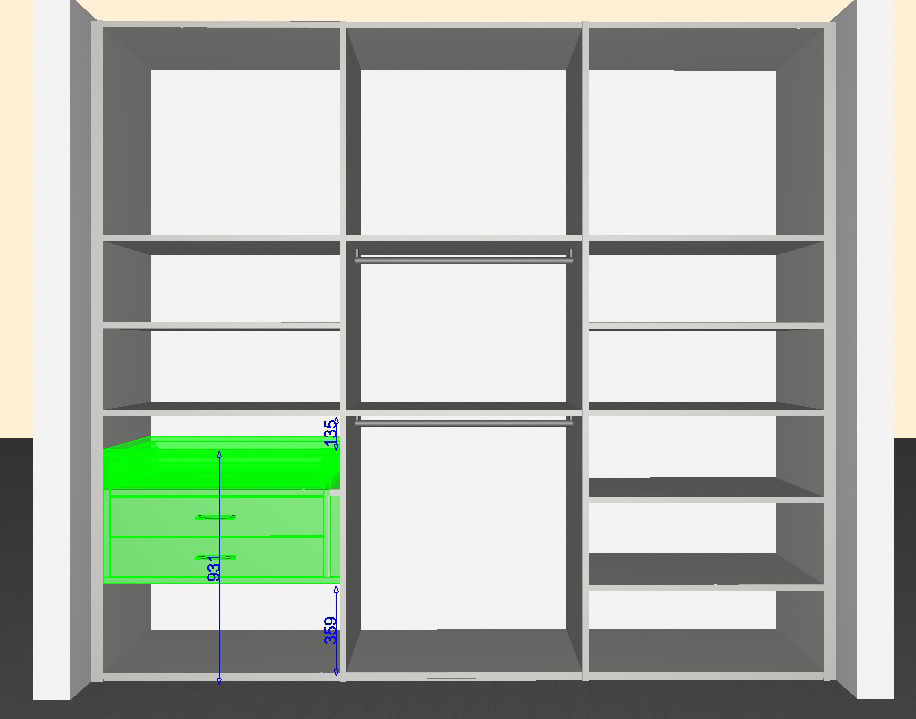
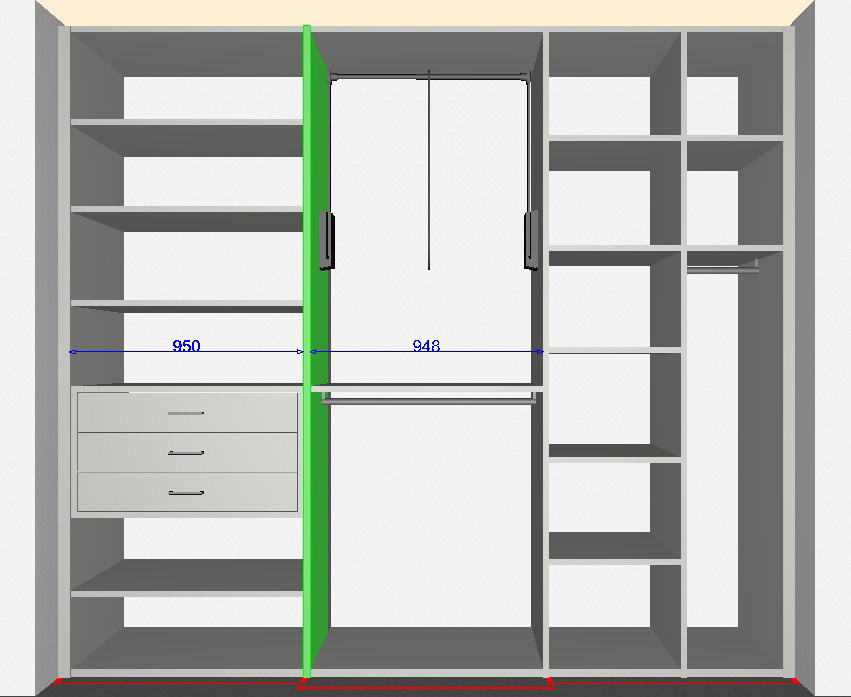
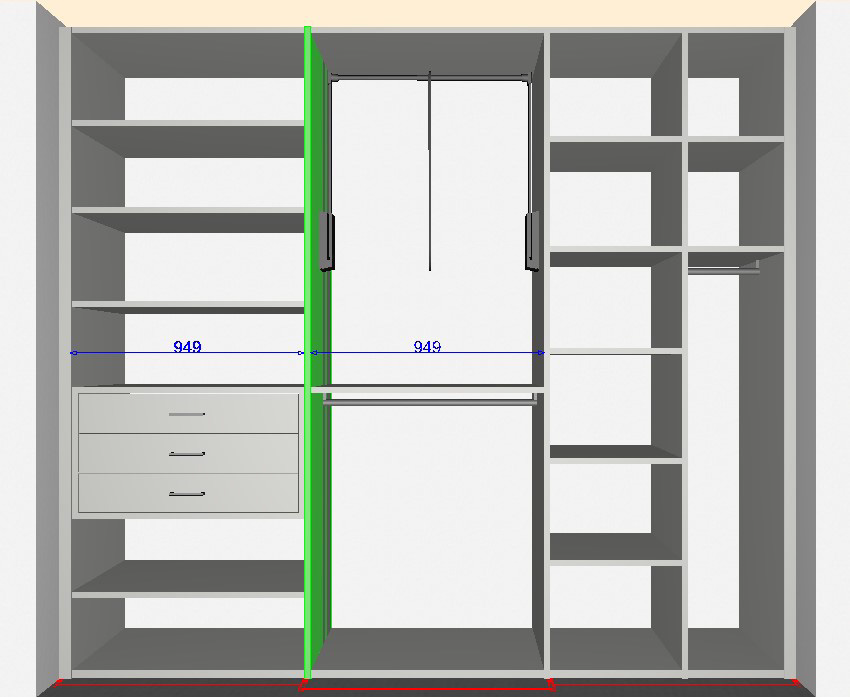
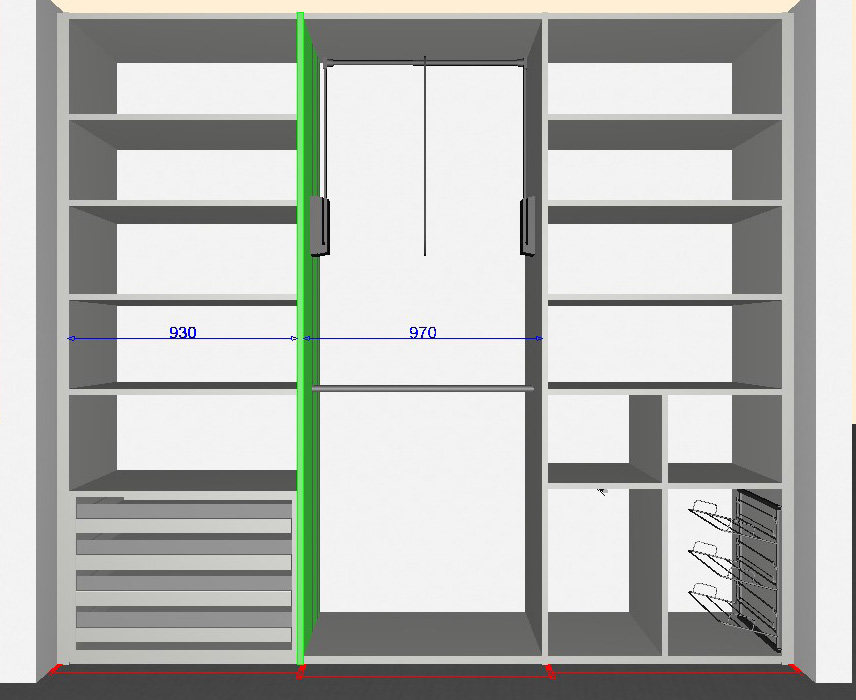
Decrease of teh field width
– Instead of doubling the side it is possible to move the side to the left and assign a left spacer frame to the clothes lift to prevent collisions
– Since the adjustable corpuses have fixed widths (in this case 950mm), the area width can only be reduced by deleting the adjustable corpus!
→ Delete the corpus, reduce the area width by 20mm, insert a new 930 mm-wide corpus, fit the clothes lift with a left spacer frame:
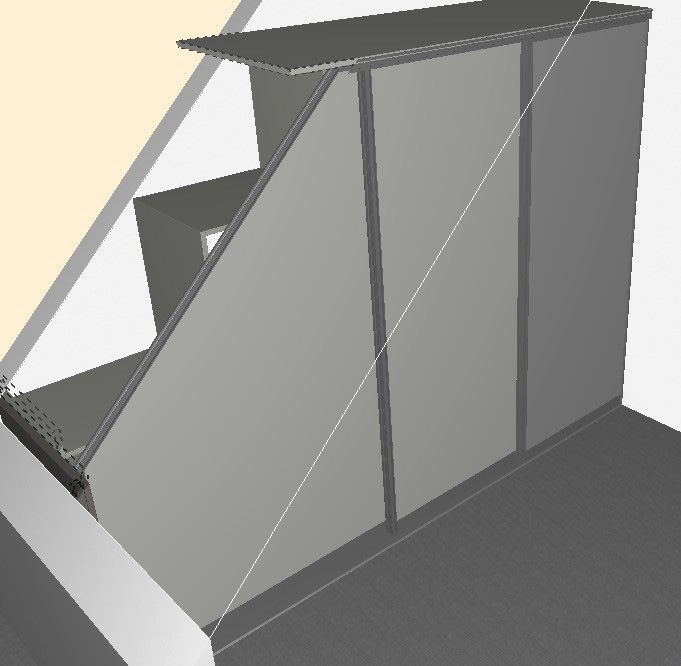
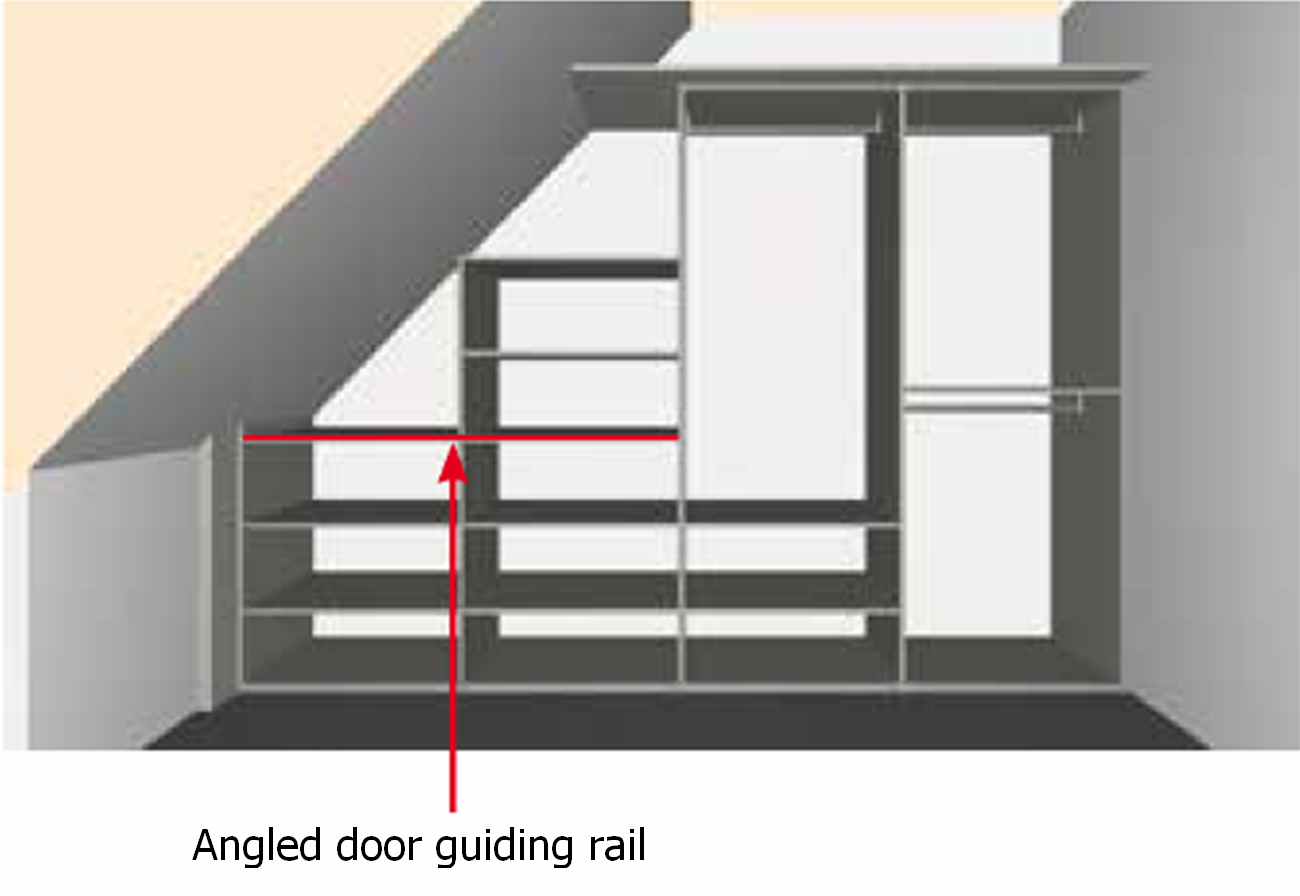
How to adjust sides to fit a slanting ceiling
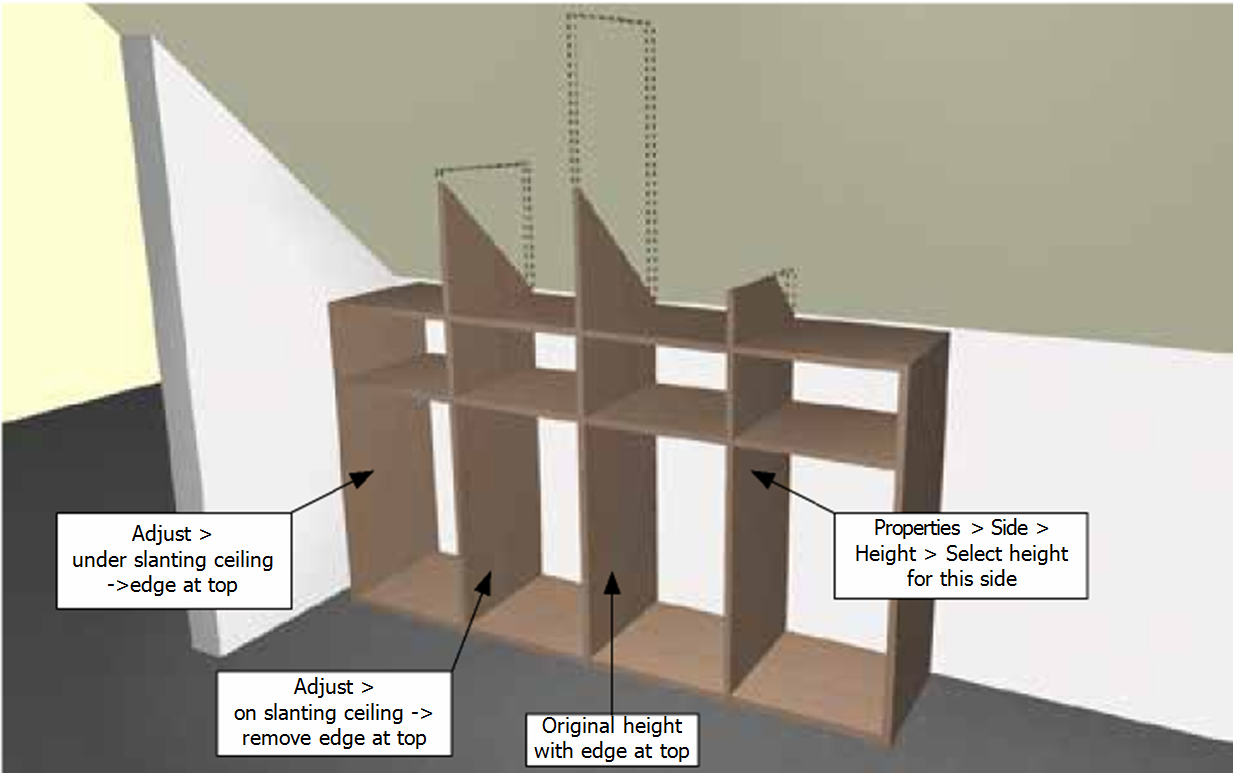
– Sides and cover material: Pop-up menu (using right mouse key)
How to insert hinged doors into an interior system
Select ‘Insert hinge door’ ![]() (In 3D view)
(In 3D view)
Property window (on the right side)
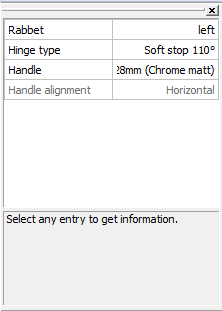
– Select the direction of opening, type of fitting, handle and its location
– No handle is required for the Push to open fitting
– In the interior system 3D view click the upper and lower shelves that should be covered by the door
Example:

Hinges on both sides
Hinge on right and on the left
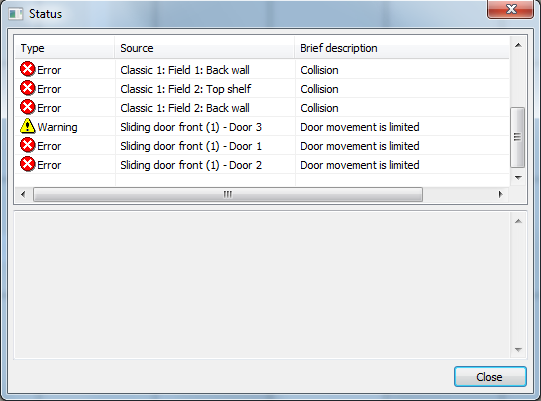
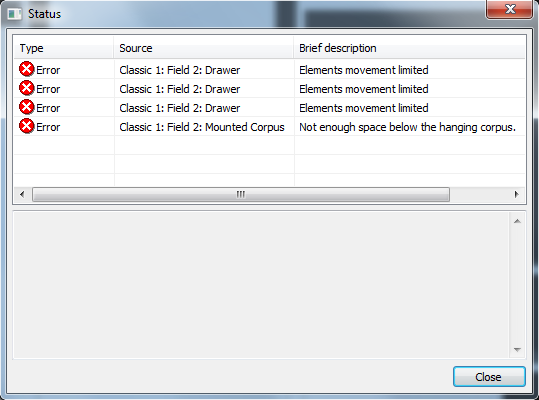
How to remedy collisions between installation plates and shelves
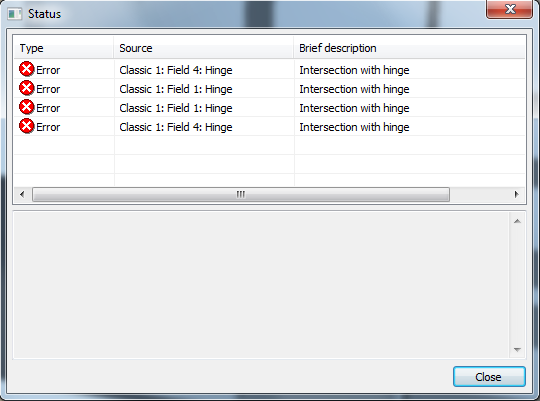
– Turn the closet using the mouse (Hold right mouse button)
– Click the command ‘Move element’
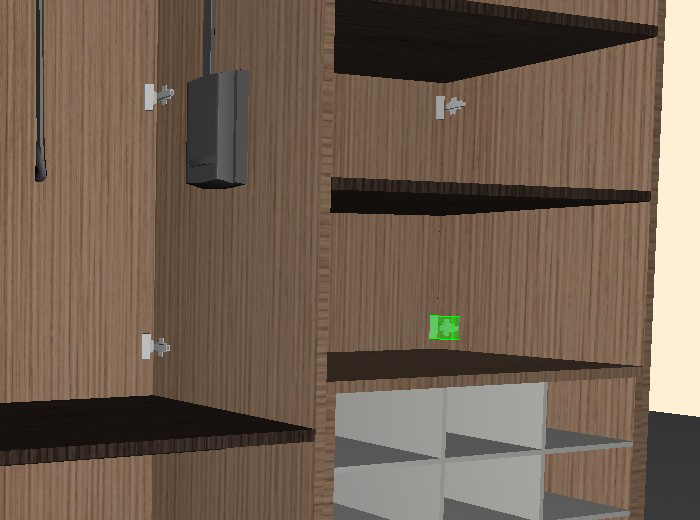
→ Move the hinges or shelves on the back up or down until the number of errors is reduced to 0 (Zero)
How to insert a closet top as the top closure

– In the 3D view deleted the top edge of the three high sides (Side pop-up menu)
– In the 2D view (room) measure the required depth

– Insert covering material in the required dimensions:
Covering material → Other → Ecoline / Legno → Dimensions → Edge at top: Yes
– Move the closet top into the back left corner using measuring and moving via dx and dy
– Change to the 3D view
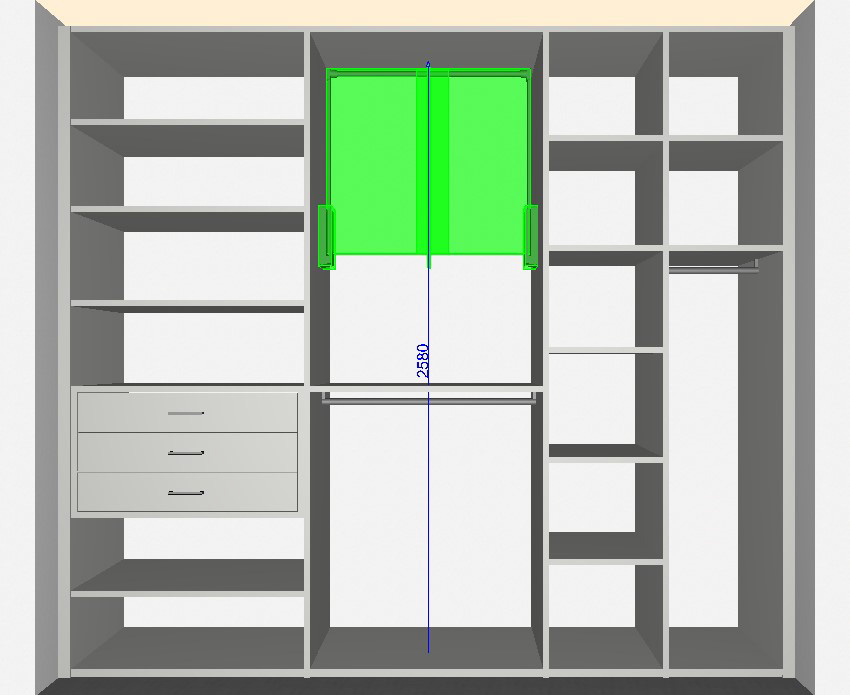
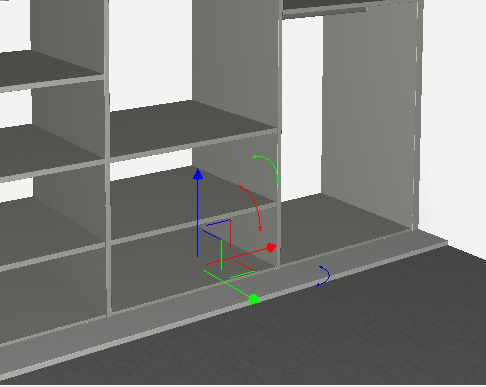
– Select the command ‘Move element’
 , select the top and move it up using the blue arrow
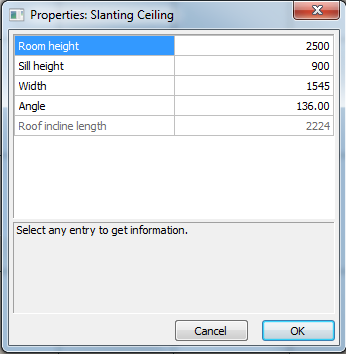
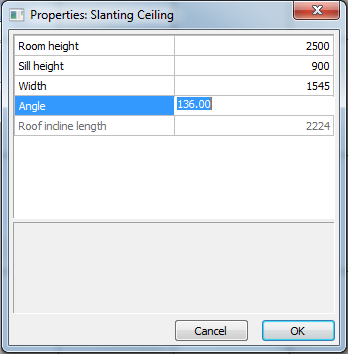
How to change the dimensions of a slanting ceiling
– Clicking the right mouse key on the slanting ceiling area opens the pop-up menu:

– Resolve error
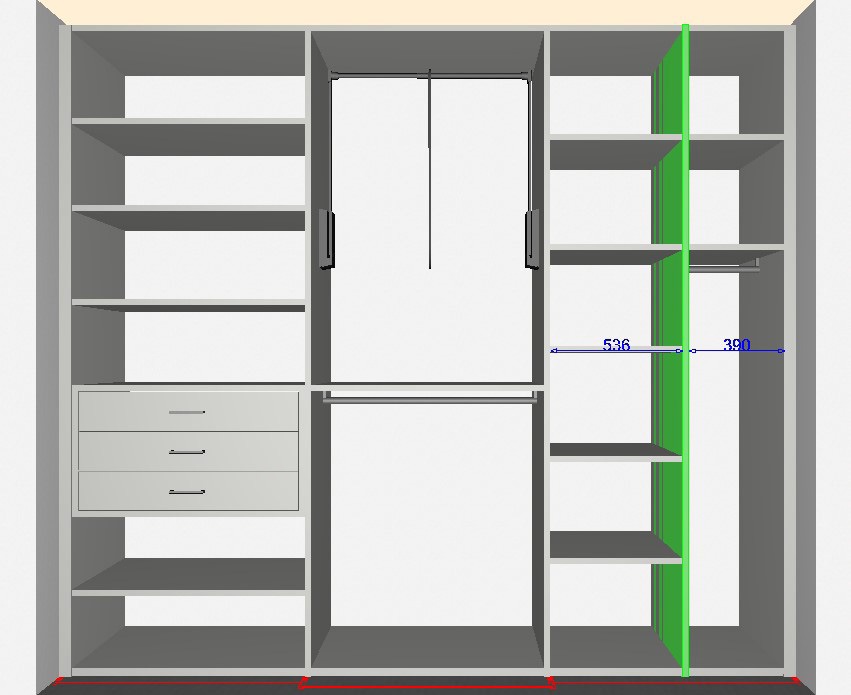
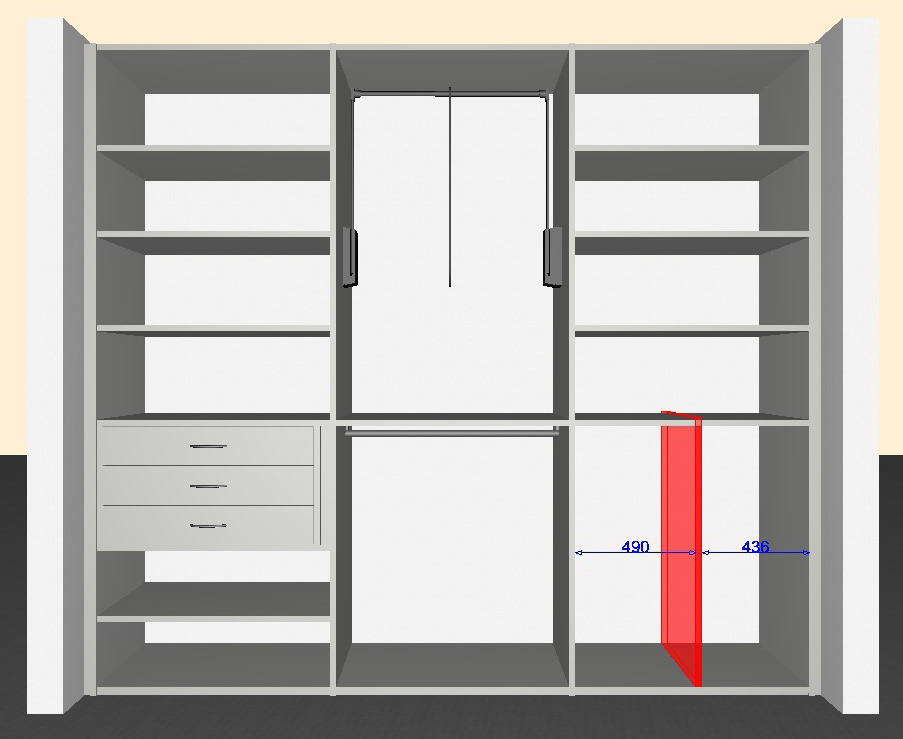
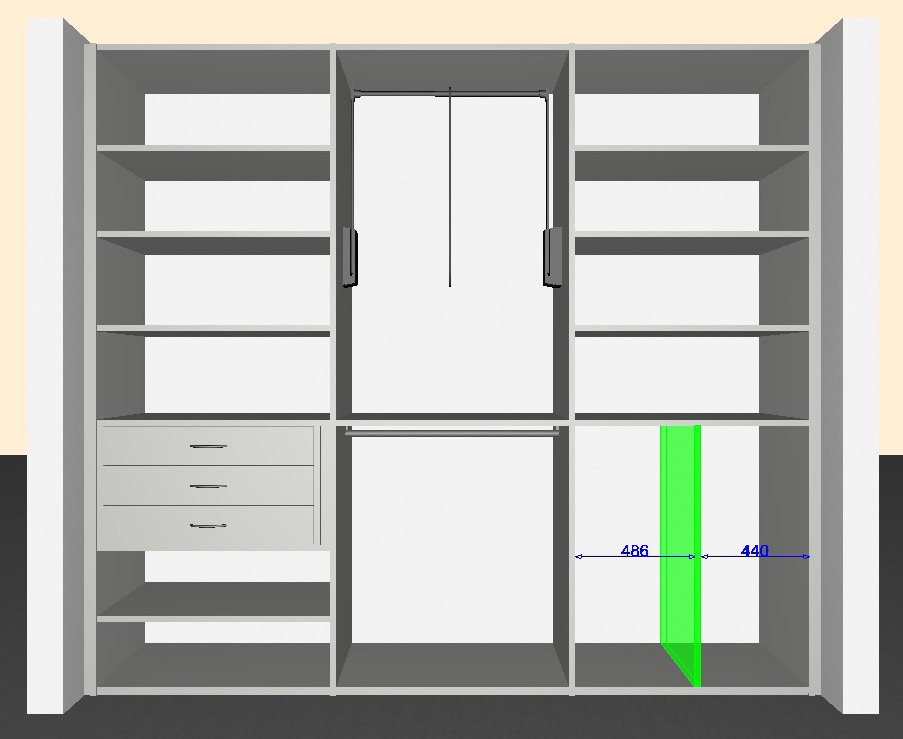
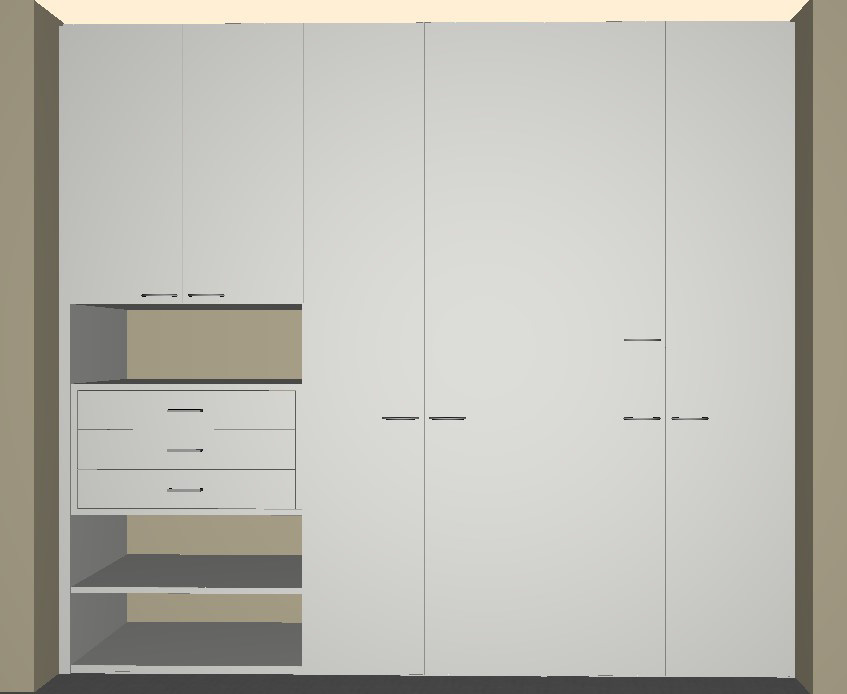
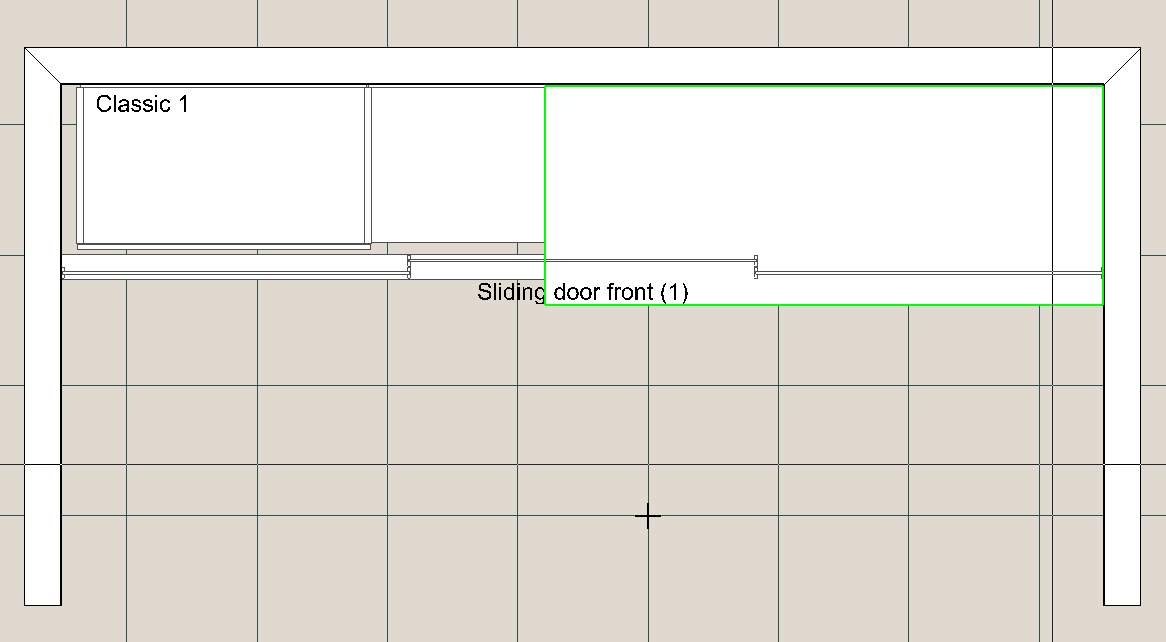
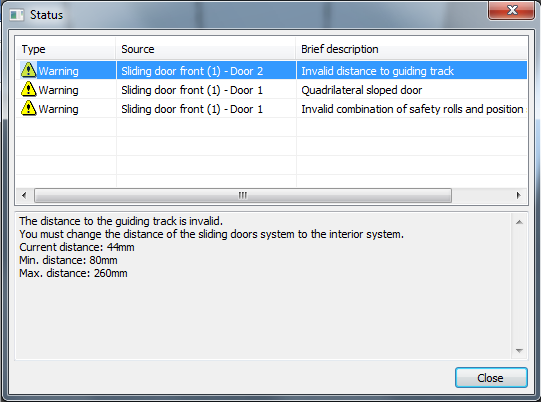
How to increase the distance between the front and the interior system
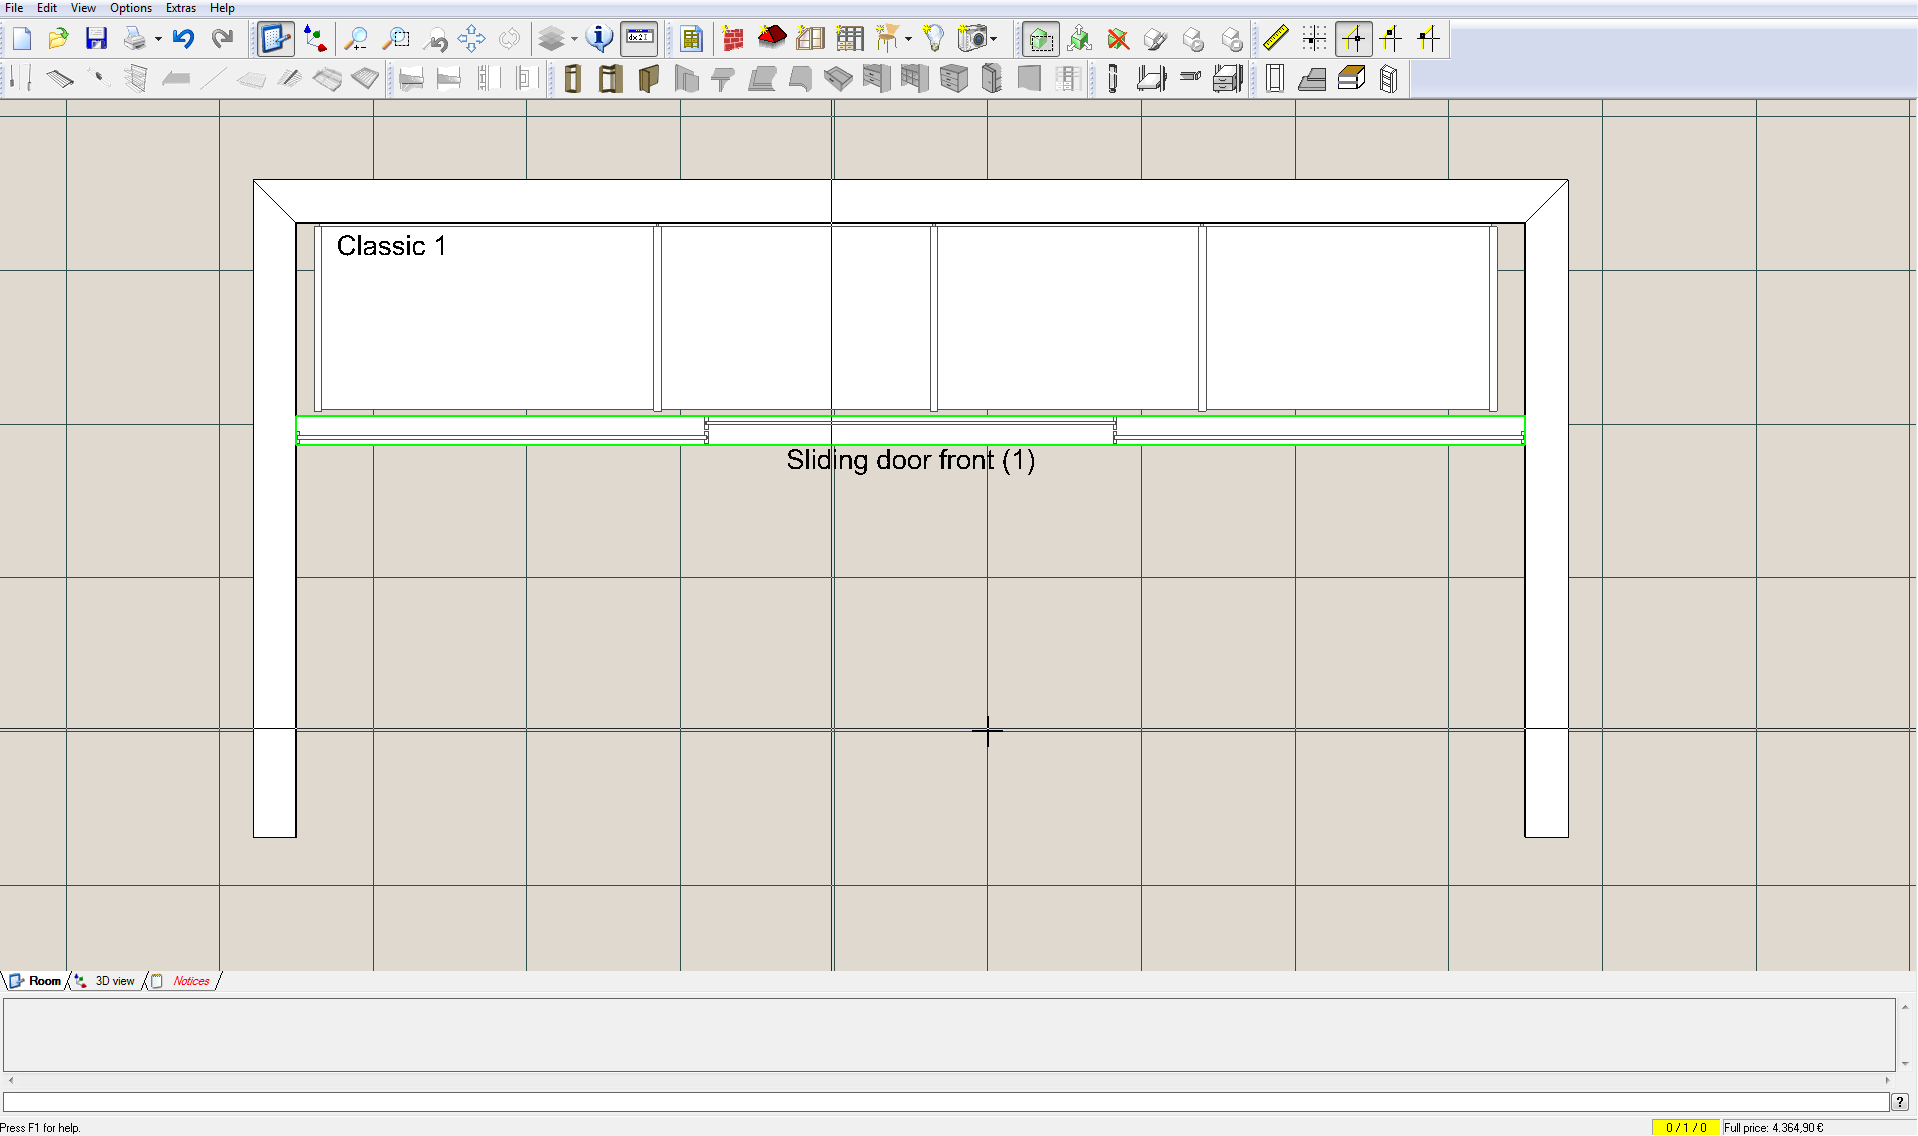
2. Mark the front in the middle; all of it will be circled in green
How to create slanting walls
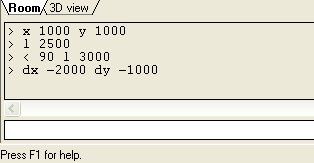
2. <_Angle_l_Length (Enter in console)
3. ENTER
4. ESCExample

<270 l 800 ENTER
< 92 l 2870 ENTER
< 88 l 158 ENTER
< 272 l 898 ENTER
< 88 l 730 ENTER
ESC
Or in one single step:


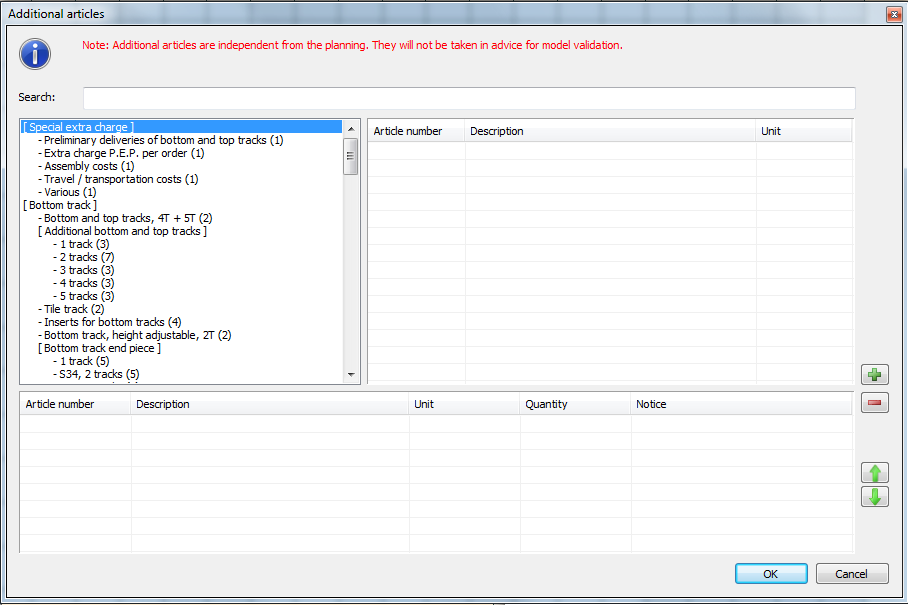
How to add items

How to add furniture and decorations to a plan
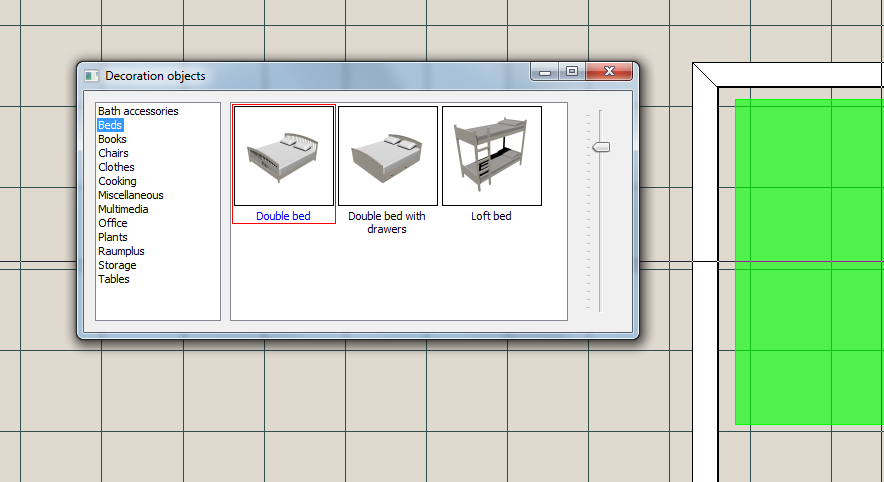
Select ‘Insert decorations’ ![]()
– Select individual objects and place them in the work area (in the 2D and 3D view)
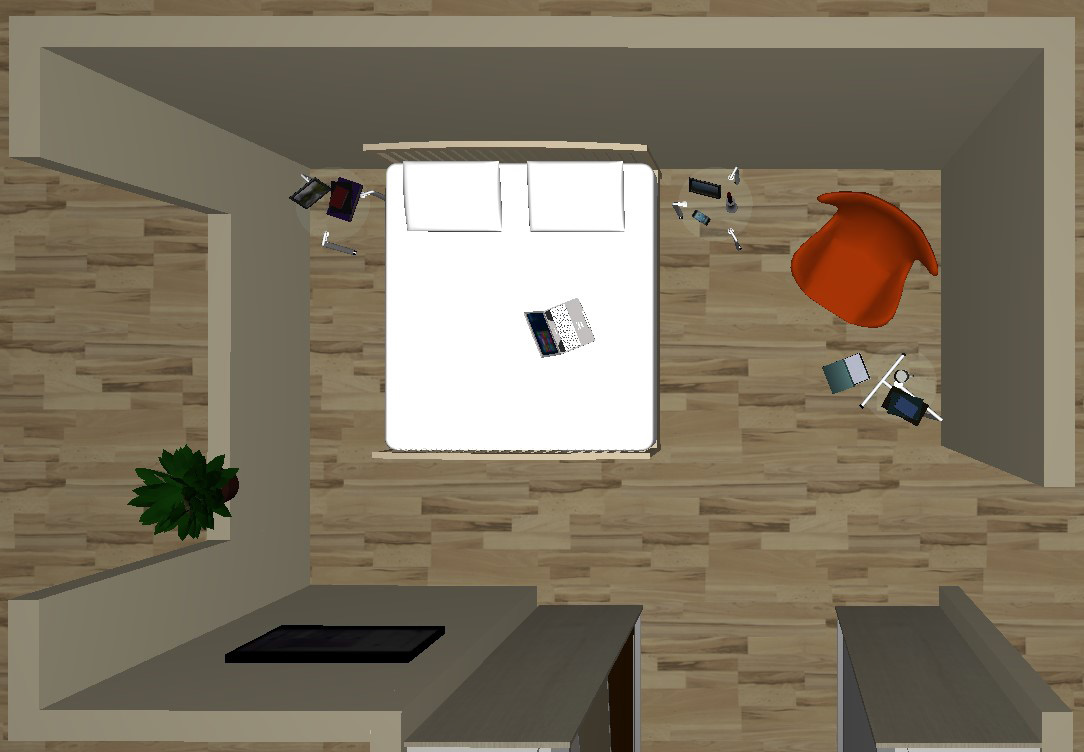
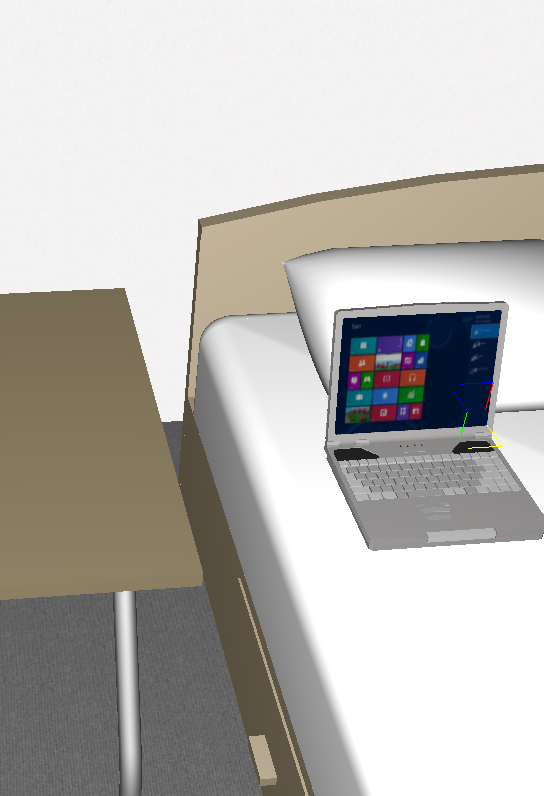
– Objects can be placed on surfaces by holding down the Ctrl key when moving them, (e.g. a notebook on a bed; files on adjustable shelves).1.To do so, push and hold on the Strg-button and keep the mouse on the xy-plane of the axis of abscissas. → the object’s xy-plane will turn to yellow square.
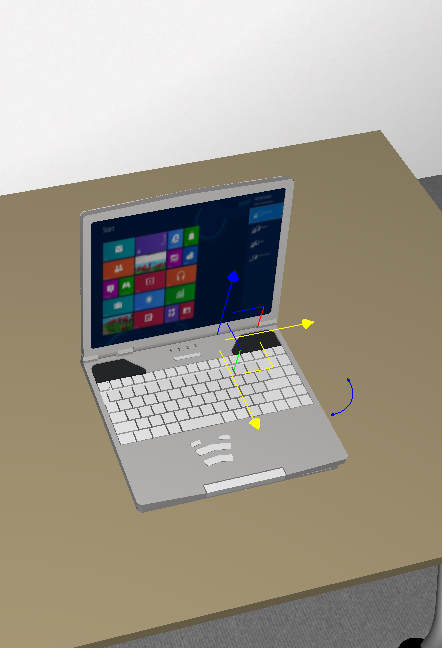
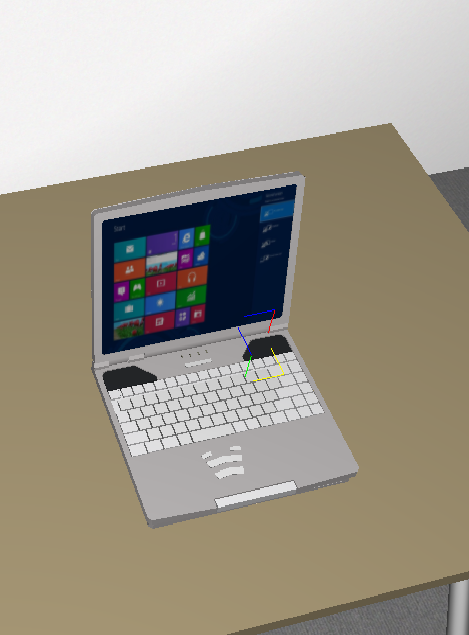
2. ‘In the pressed state’ the object can be move now over surfaces. → The object will ‘jump’ automatically to next surface
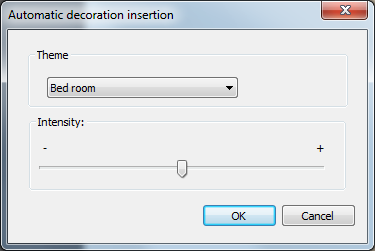
How to fill closets with clothes
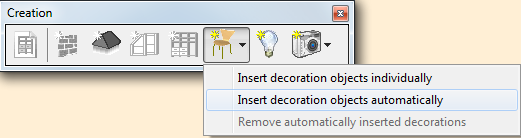
– Select topic and intensity (according to intensity the performance of the computer will slows down!)

How to show everything in the right light
– Enabled light: yes or no
–
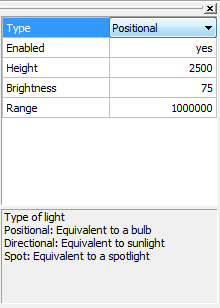
In the 3D view → move and turn it
How to render a scene and picture
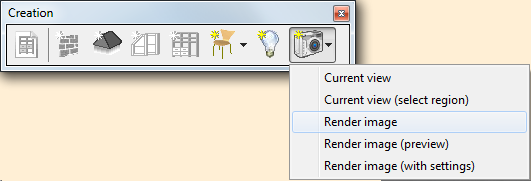

– NOTE: New rendering will replace the existing rendered imageExample

How to use the Notes feature
– As soon as this view contains content, the file automatically opens in the Notes view