
Planning – sliding doors
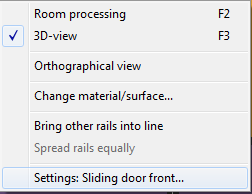
![]() Switch to the Roomprocessing.
Switch to the Roomprocessing.
Select this symbol or click the right mouse button and select “room editor” (F2).
![]() Select ‘create front’.
Select ‘create front’.
Now you will see the promptbar and a dialogue of sliding doors settings. Here you can insert the sliding doors.
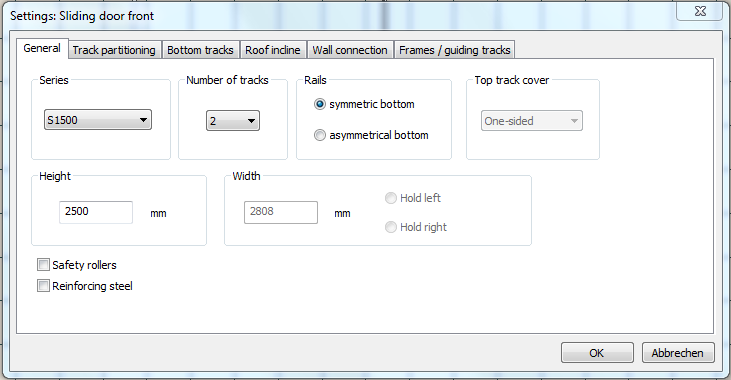
Select series, system height, number of tracks and type of bottom track
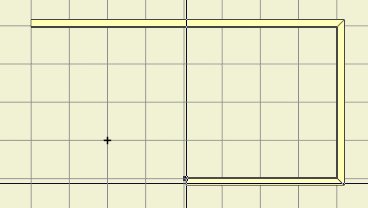
– Define the starting point of the front by clicking on the work area with the left mouse key (check current cursor grid)
– Define the length and direction of the front using the mouse or console (see Wall) – Use the ESC key to finish creation
The system must be drawn in a clockwise direction! Otherwise the back of the doors will be at the front – this can be checked by double-clicking the front.
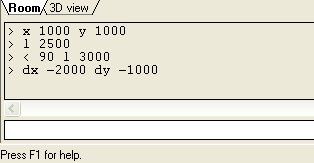
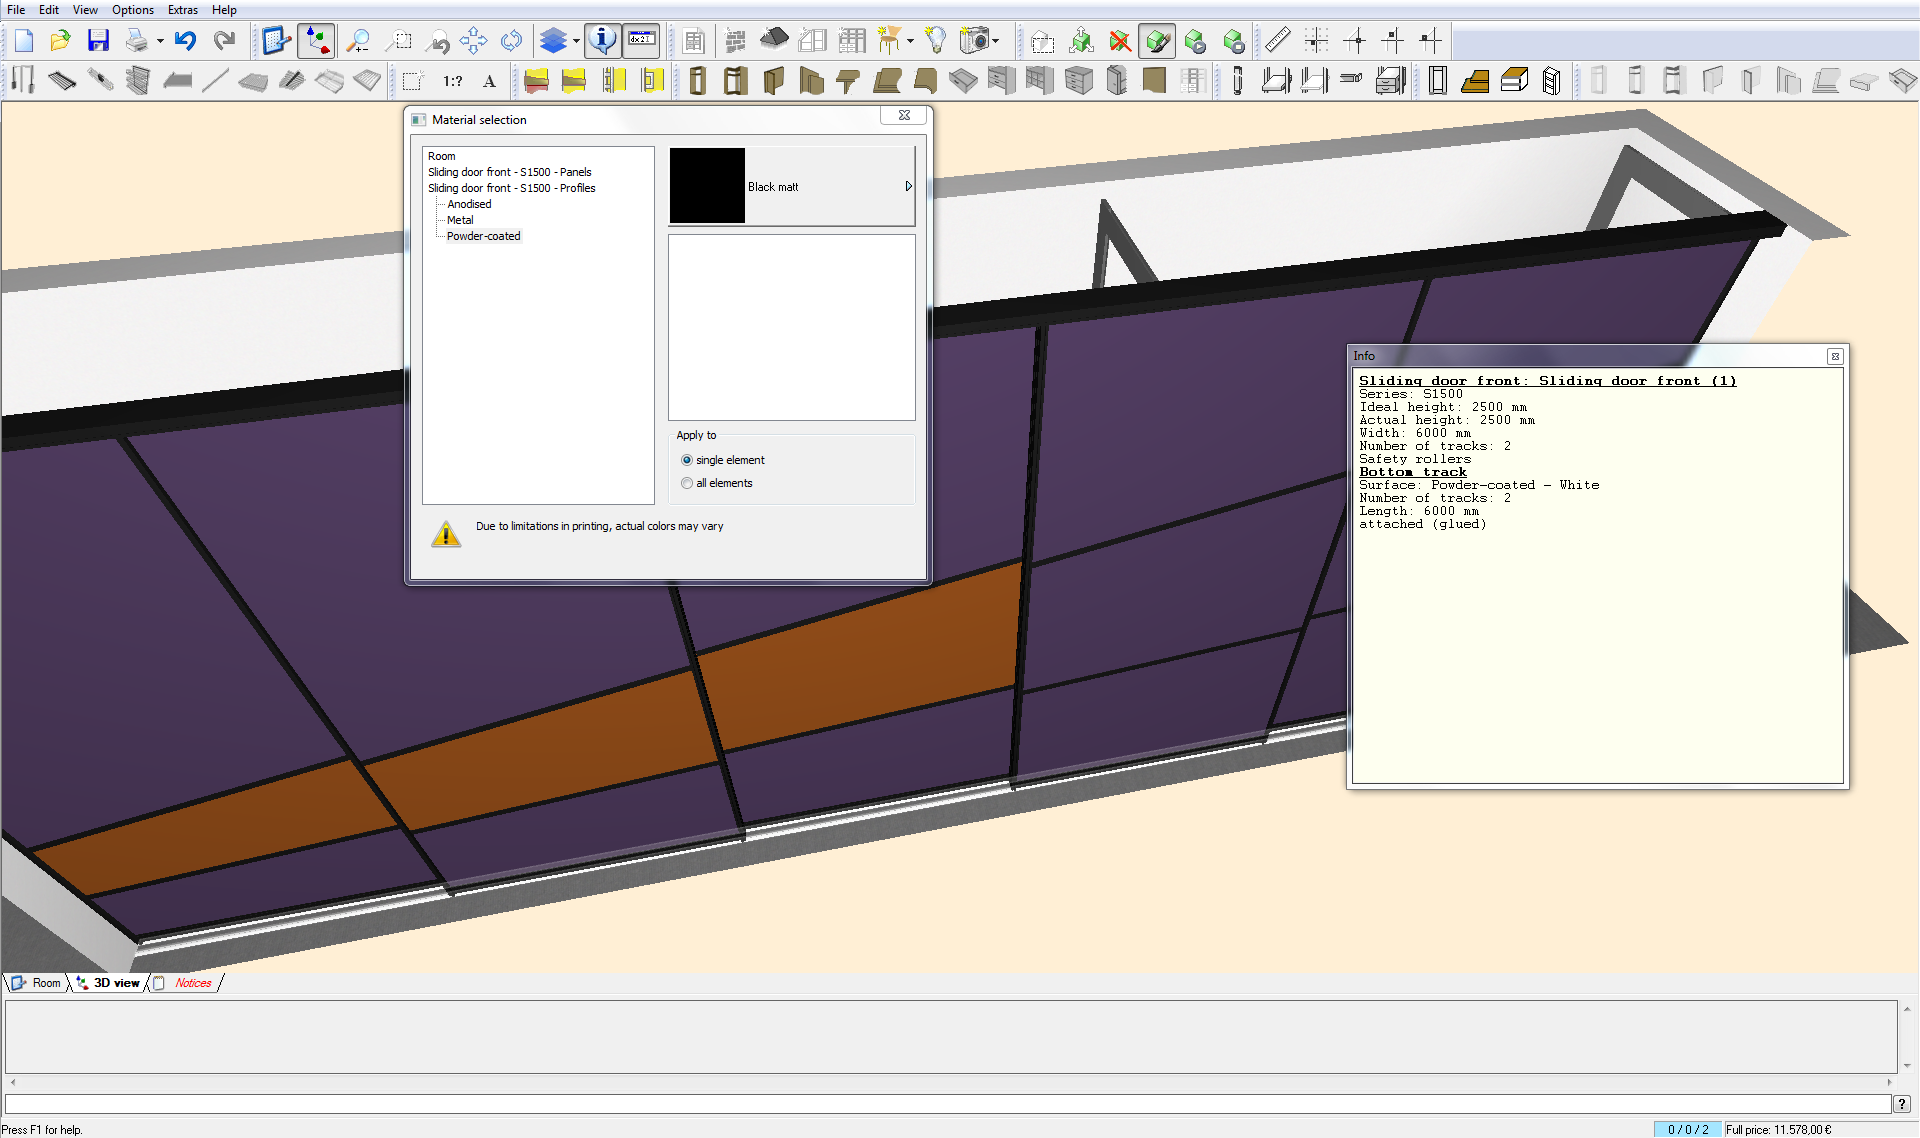
– The sliding door front properties are displayed in the info window (3D view)
Possibility A: Create a front with the mouse
With a left-click on the view you can set a starting point for the front. Move the mouse to the desired point and left-click again. You can fix as many points as you wish. Stop this process with ‘Esc’. A front cannot be built unless you fix at least two points.
Remember that fronts can only be fixed in angles of 45° and 90°.
Possibility B: Create fronts with the Promptbar
With the prombtbar exact measurements in millimeters and degrees of angles can be entered. Type help to get a list of possible commands.
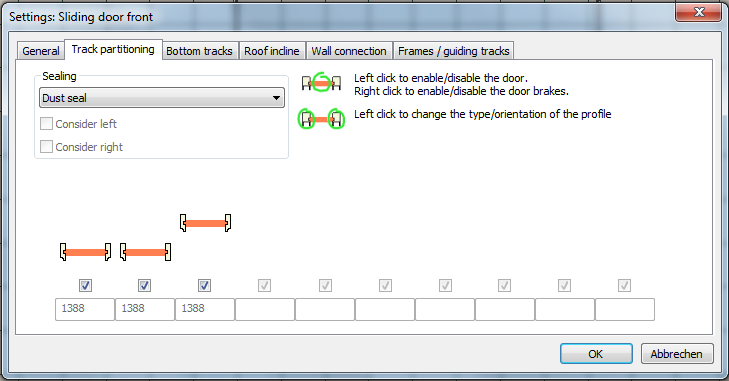
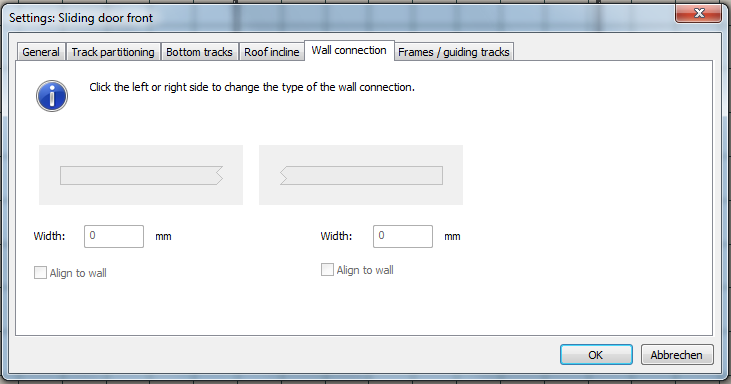
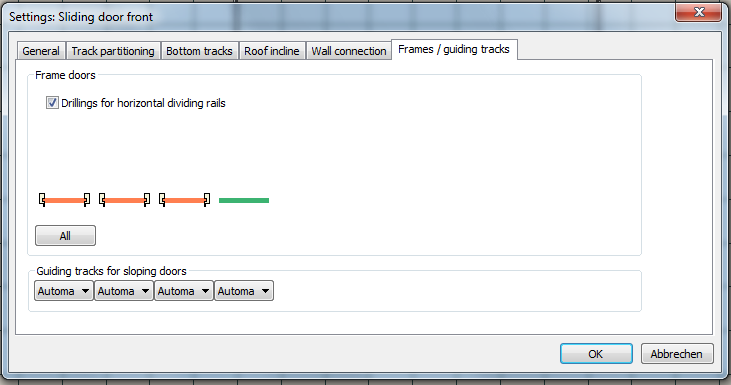
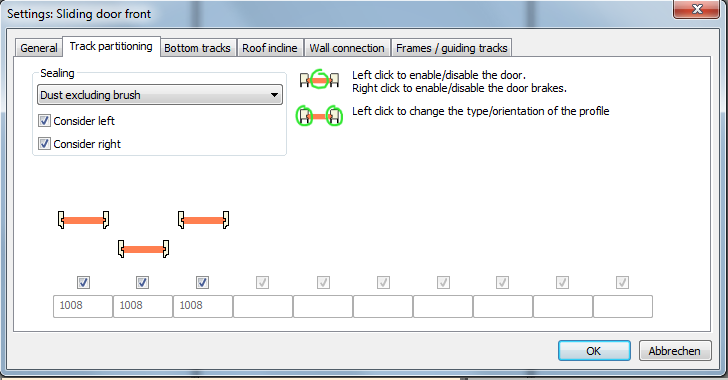
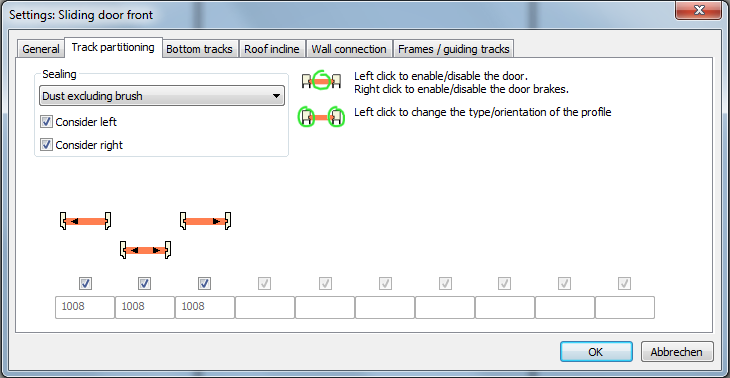
The sliding door front properties can be changed using the corresponding pop-up menu (right mouse key on front → Settings: Sliding door front):
• General tab: Series, number of tracks, dimensions, other depending on the series
• Track partitioning tab: Dust excluding brush or seal rubber left and/or right Profile direction, type, parking position, sliding door brakes
• Bottom track tab: on surface or inserted, bottom track insert, tile track depending on the bottom track selected
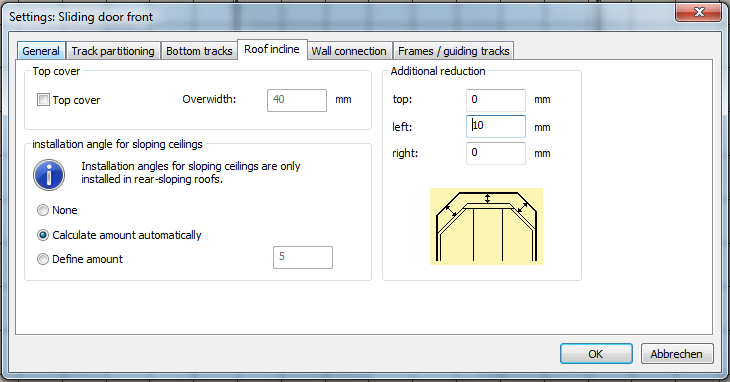
• Wall connection tab: Side, type and width of wall connection
• Frame / guiding rails tab: Frame or complete doors with panel, doors without or without angled door guiding rails
Details of the front
With a right mouse click on the front you can open a dialogue for fronts. Here you can change dimensions, top and bottom tracks, surfaces, etc.
Front elemnts toolbar
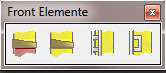
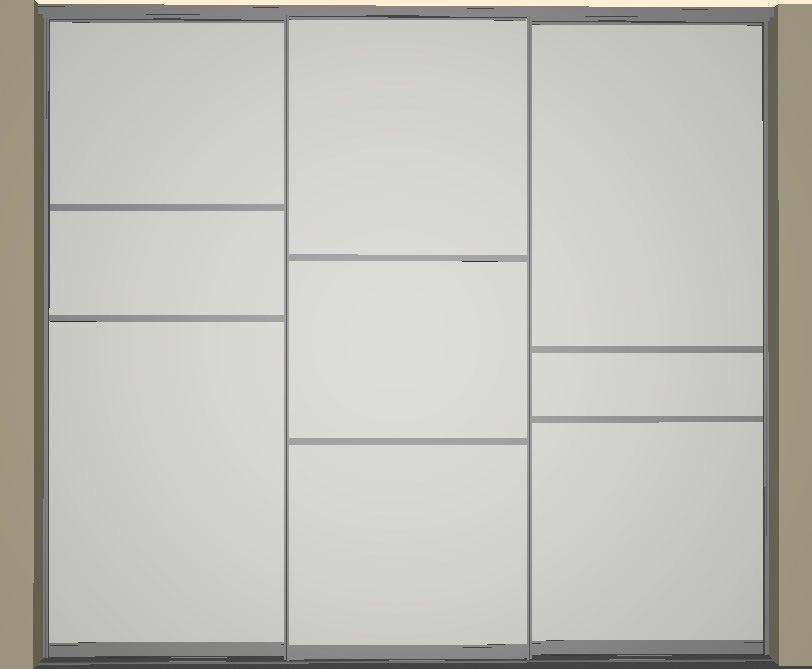
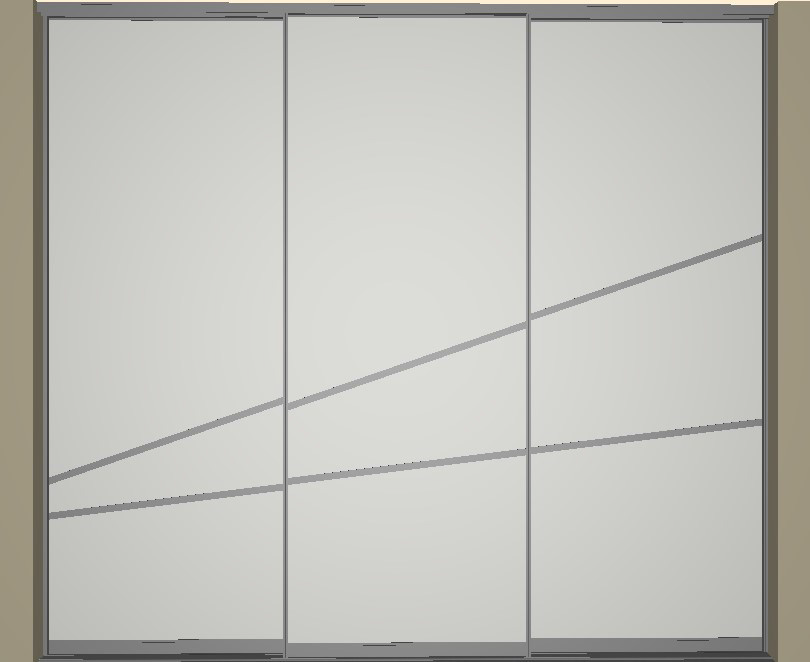
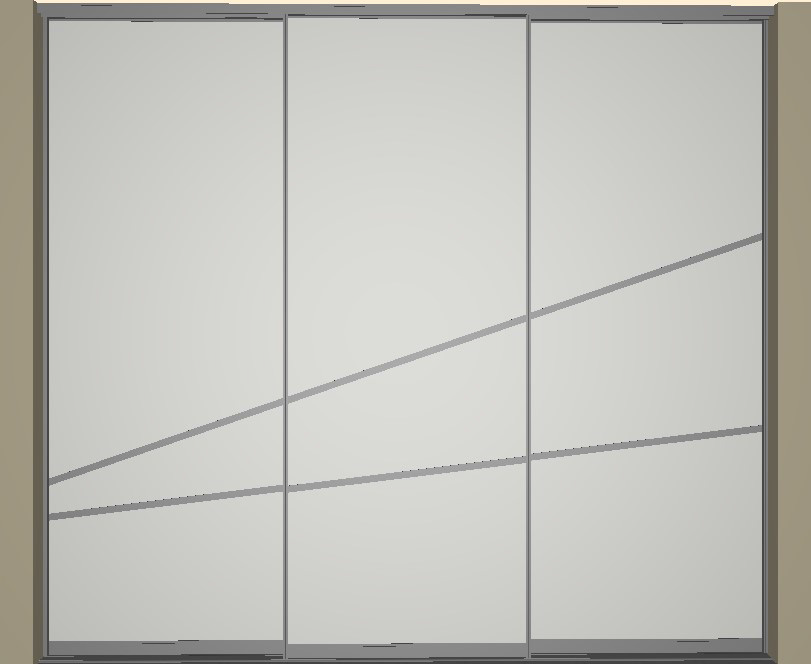
– Panel-dividing rails in 18 or 28mm height horizontal, vertical or diagonal
→ For multiple panels the most expensive panel will be used as the basis for prices
– Glued dividing rails (single- or double-sided) in 18 or 28mm height horizontal, vertical or diagonal
– Positioning (in 3D view) using the mouse or at the specified height (top edge height)
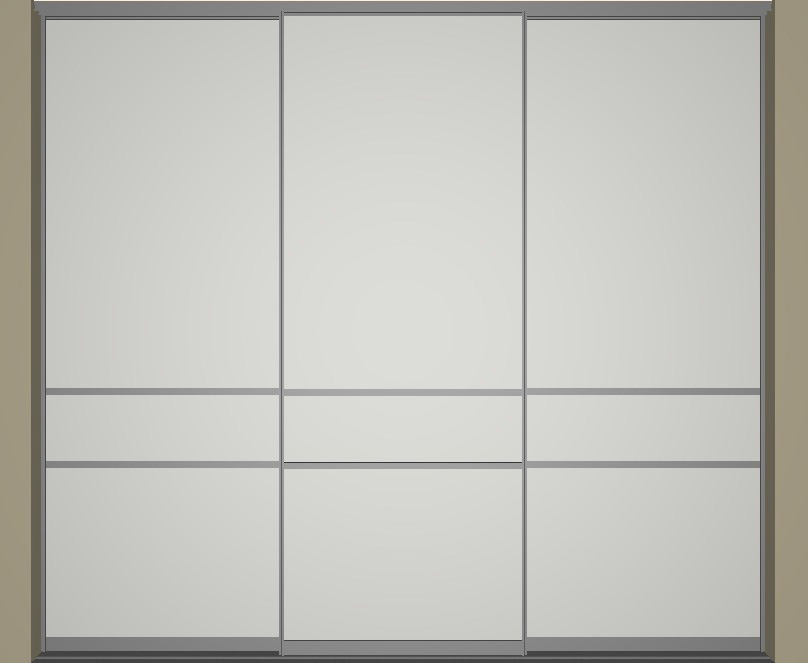
– Dividing rails can be evenly spread or aligned to other dividing rails using the pop-up menu:
Positioning using the mouse
 or by
or by
Pop-up menu → even spread
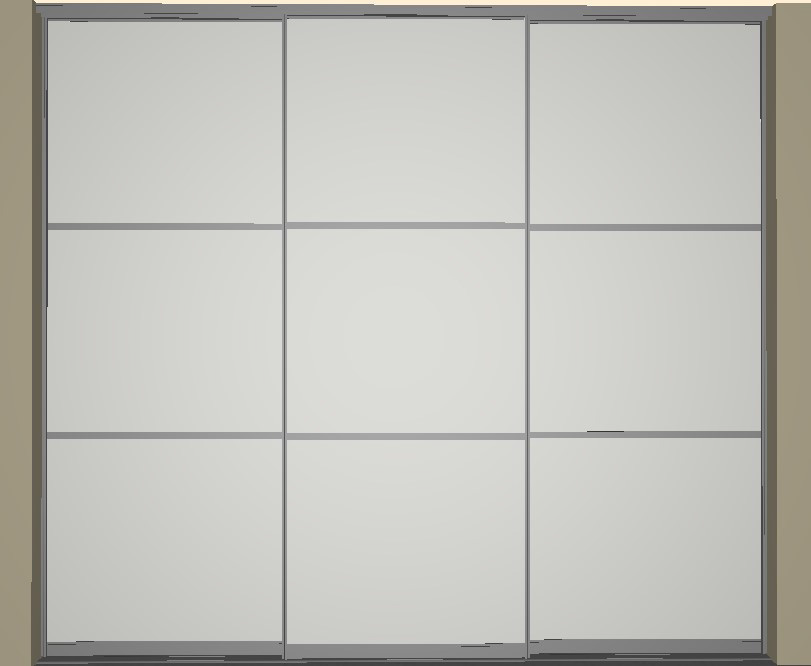
Positioning by the upper edge height left (600mm and 1100mm)
Positioning using the mouse
 or by
or by
Pop-up menu → align other dividing rails
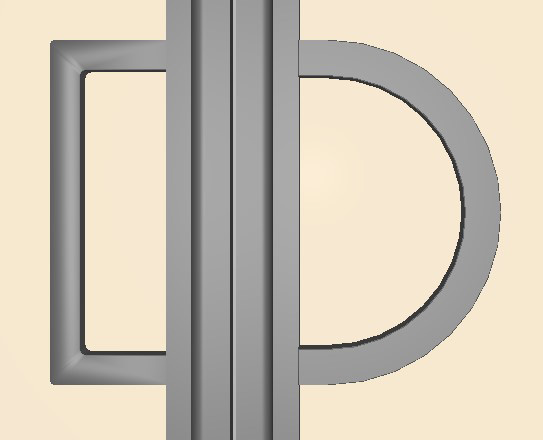
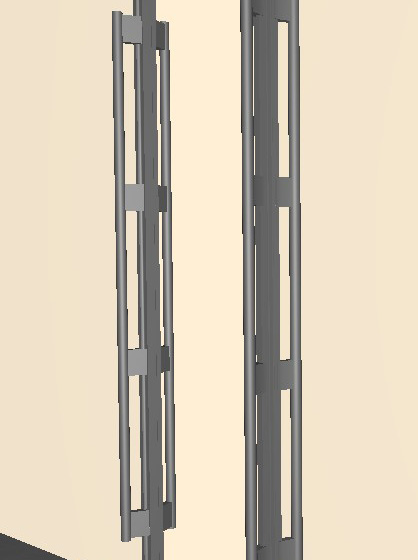
How to add handles and handle bars to doors
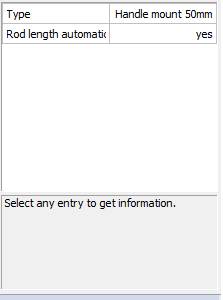
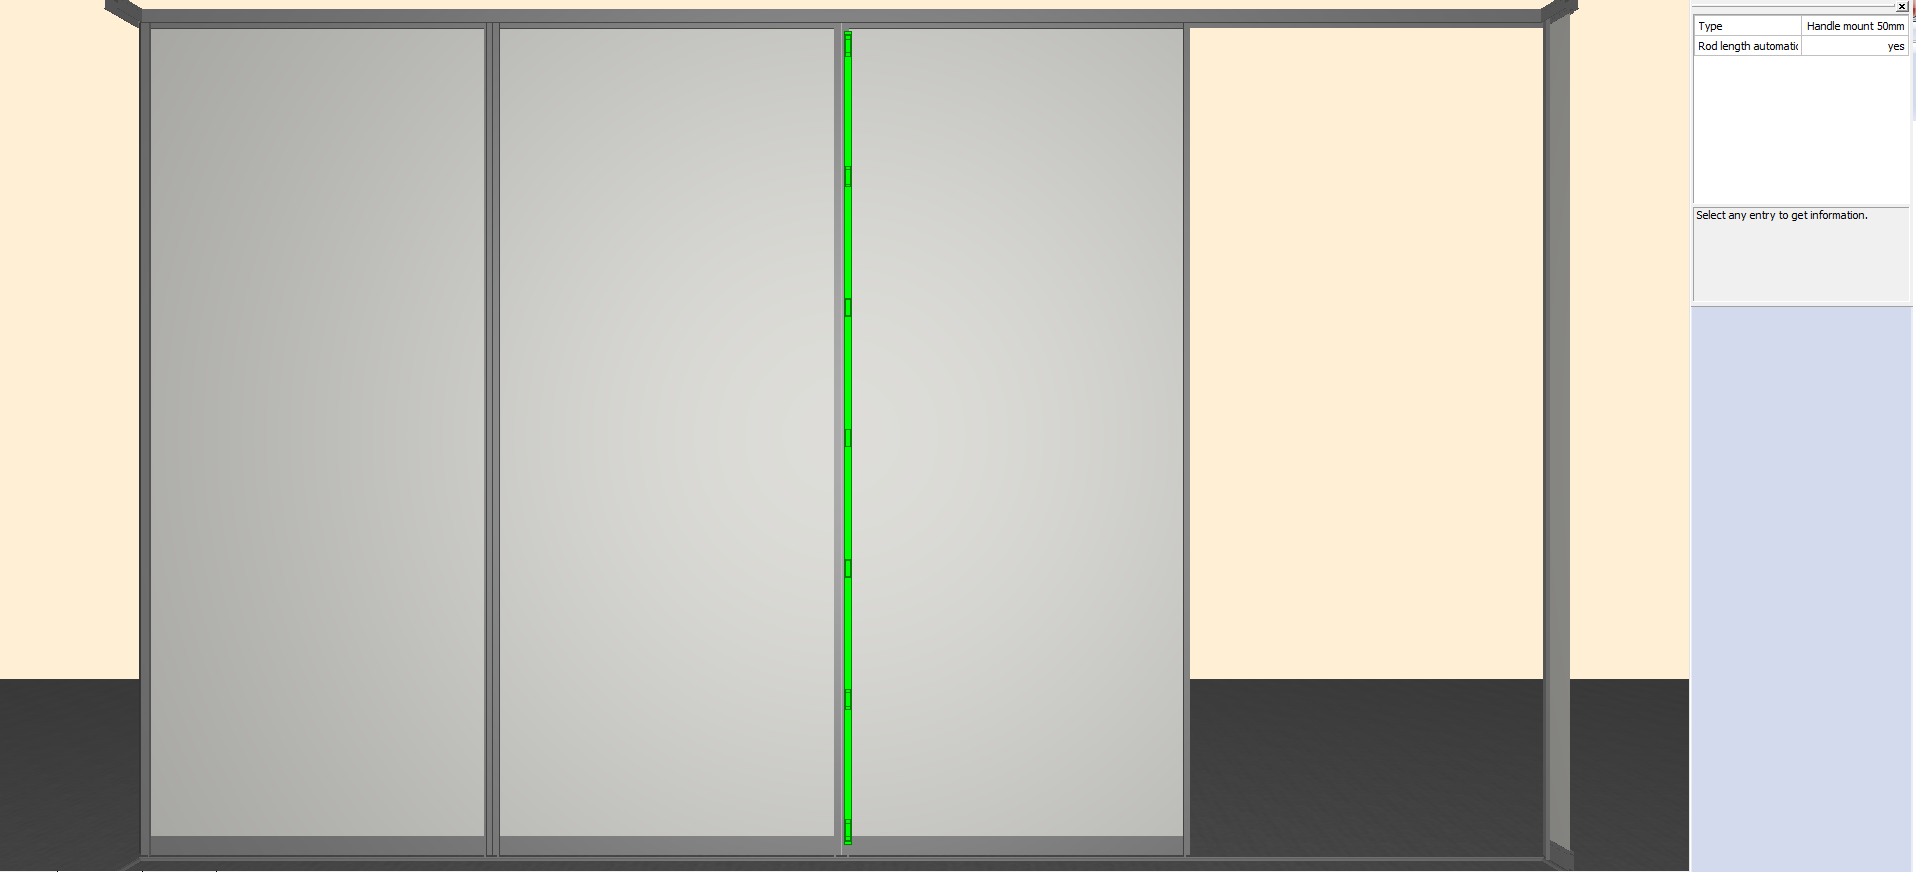 – Handle bars with defined length:
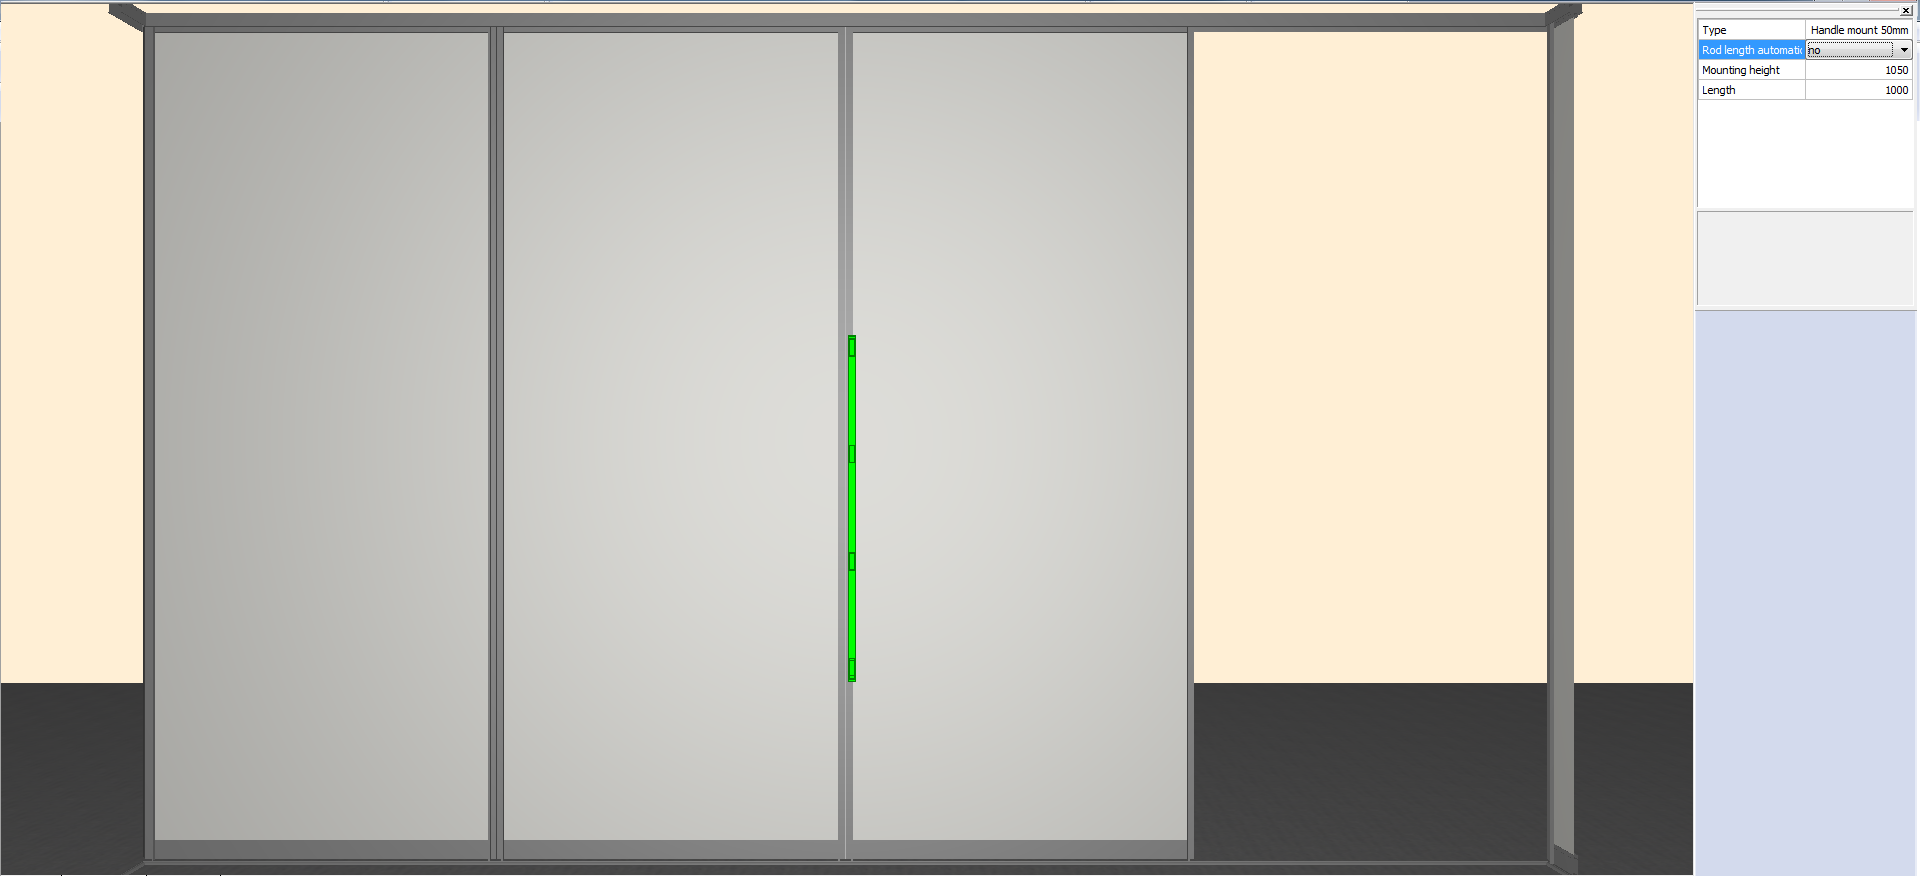
– Handle, rectangular or semi-circular at defined height:
– For handles or handle bars on the rear of the door the front must be turned:
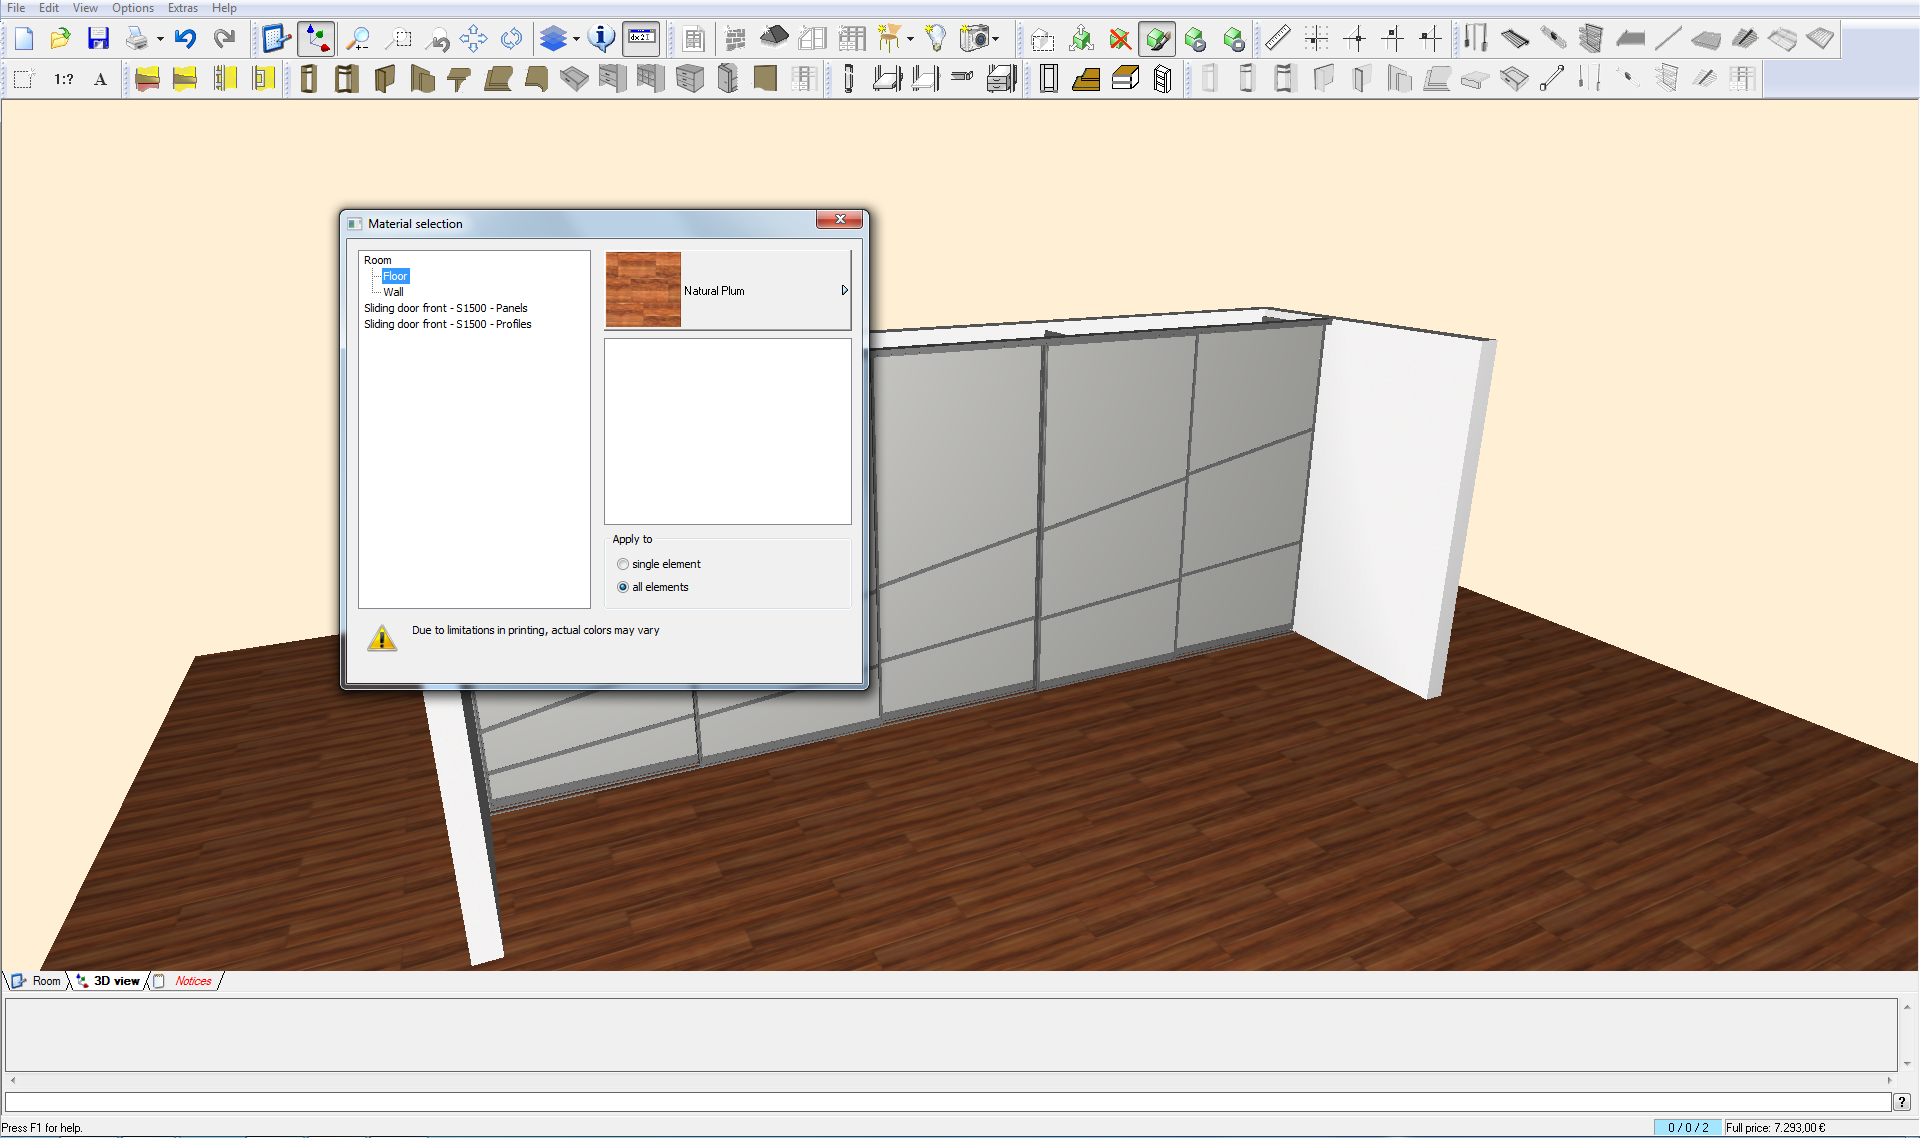
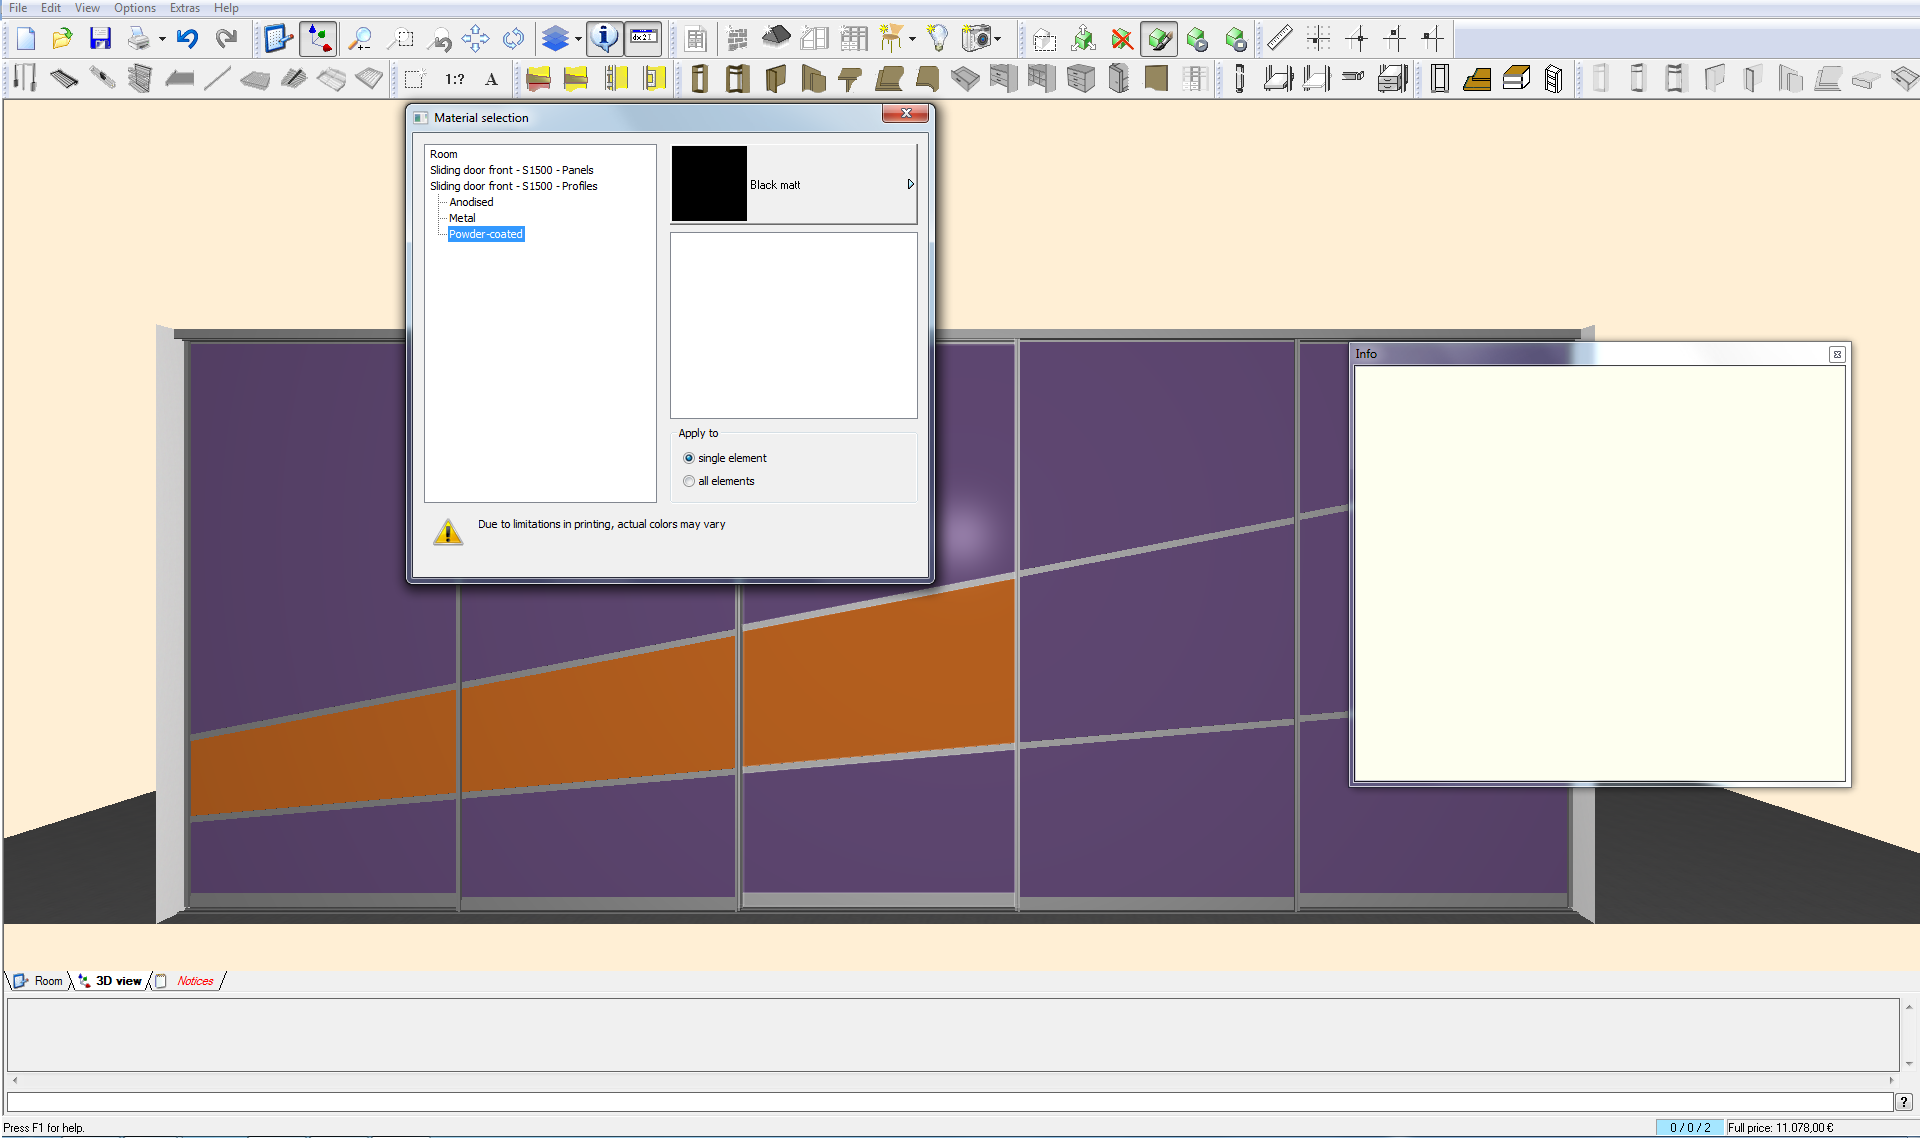
Change material / surface (in 3D view)
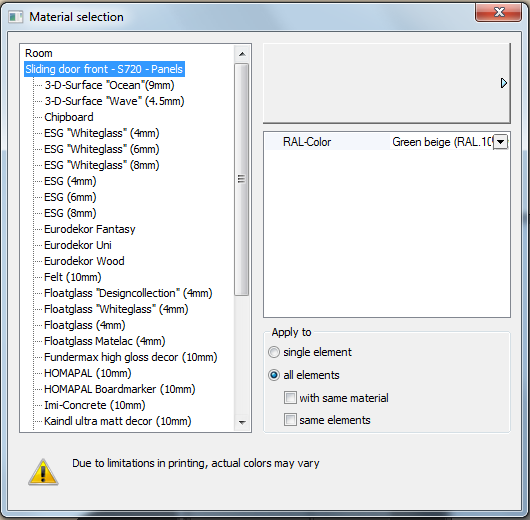 – The full range of materials available for the room (floor and wall) can always be selected
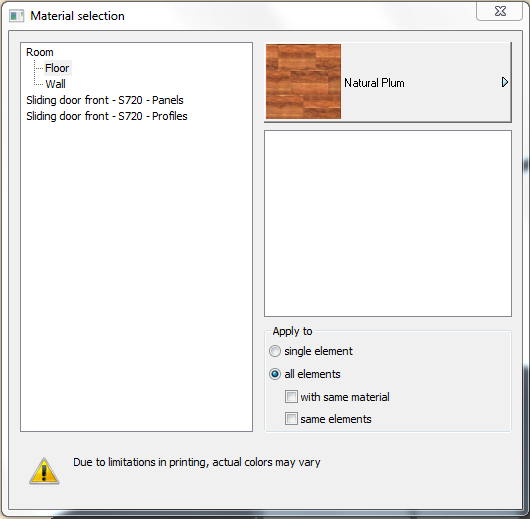
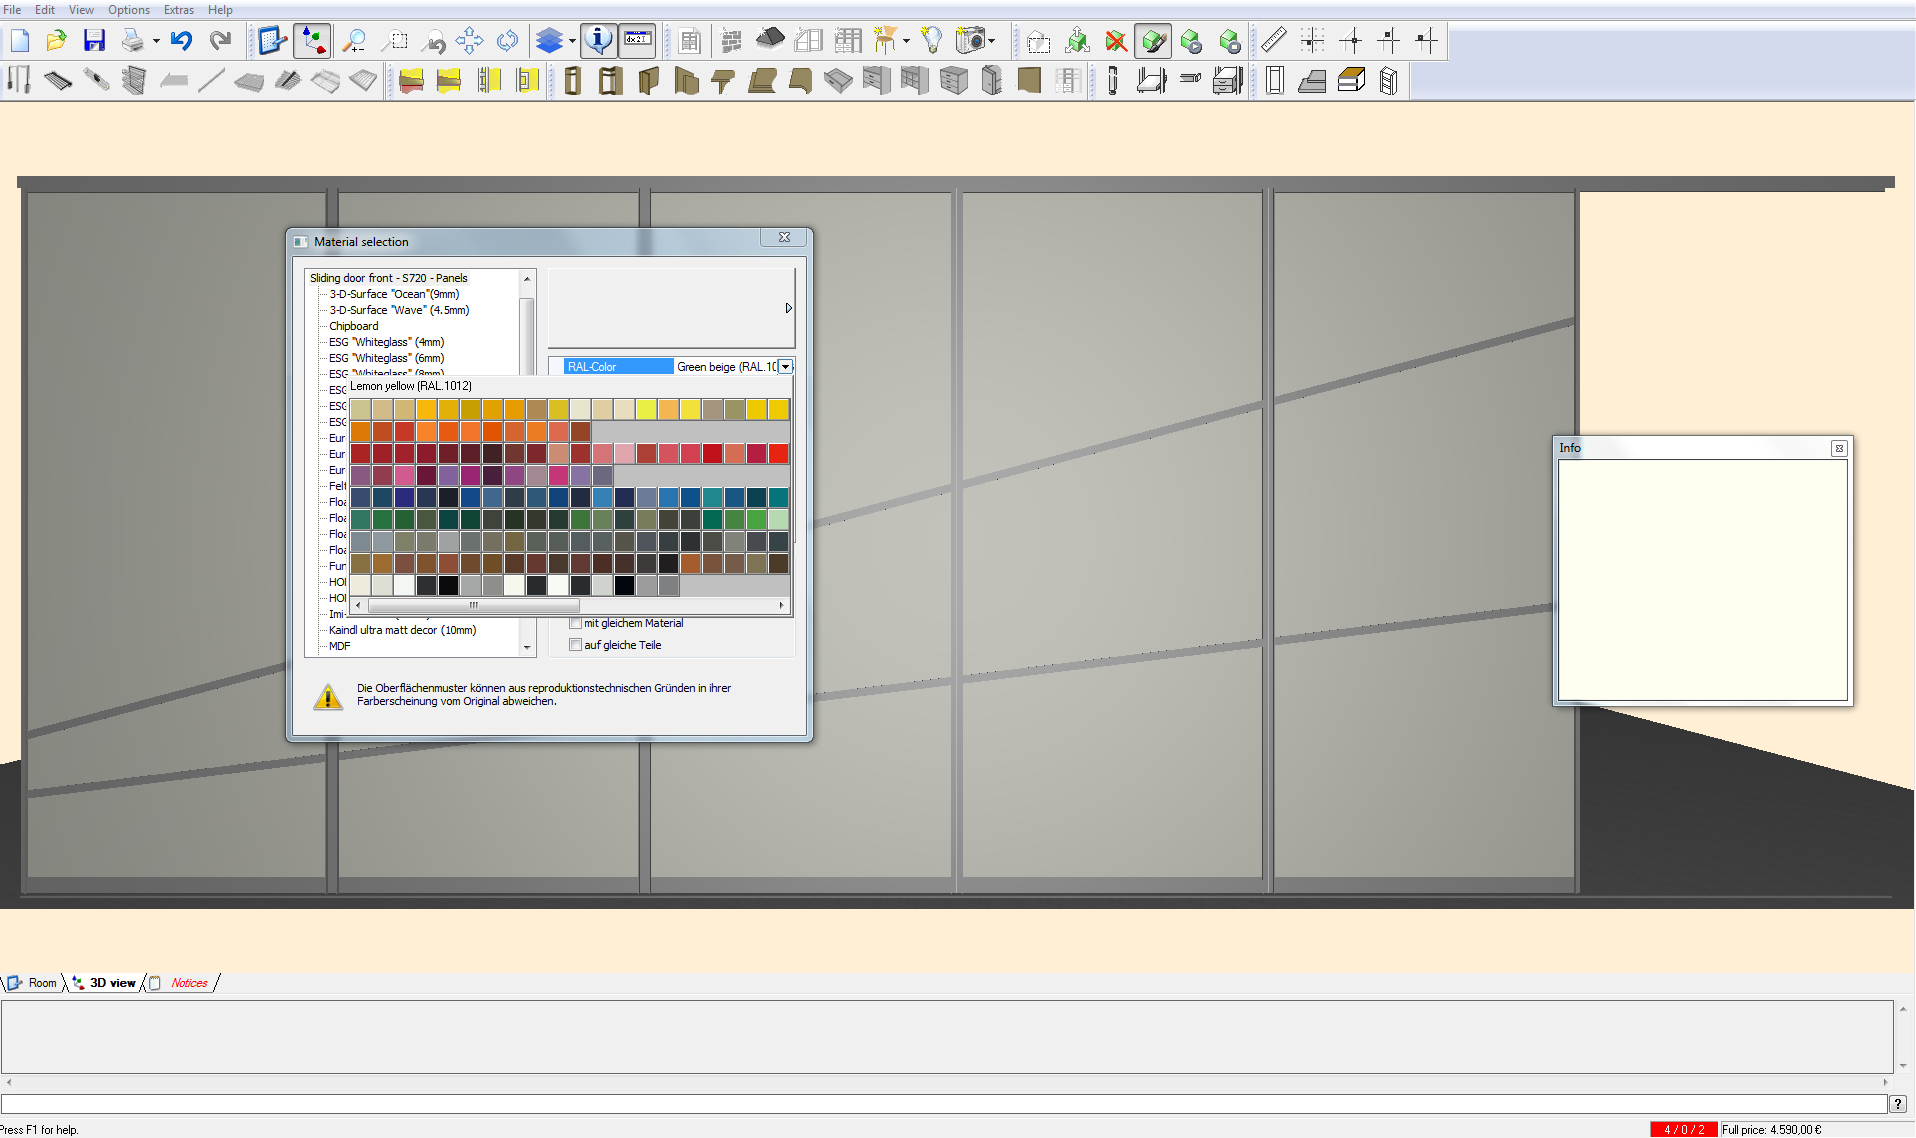
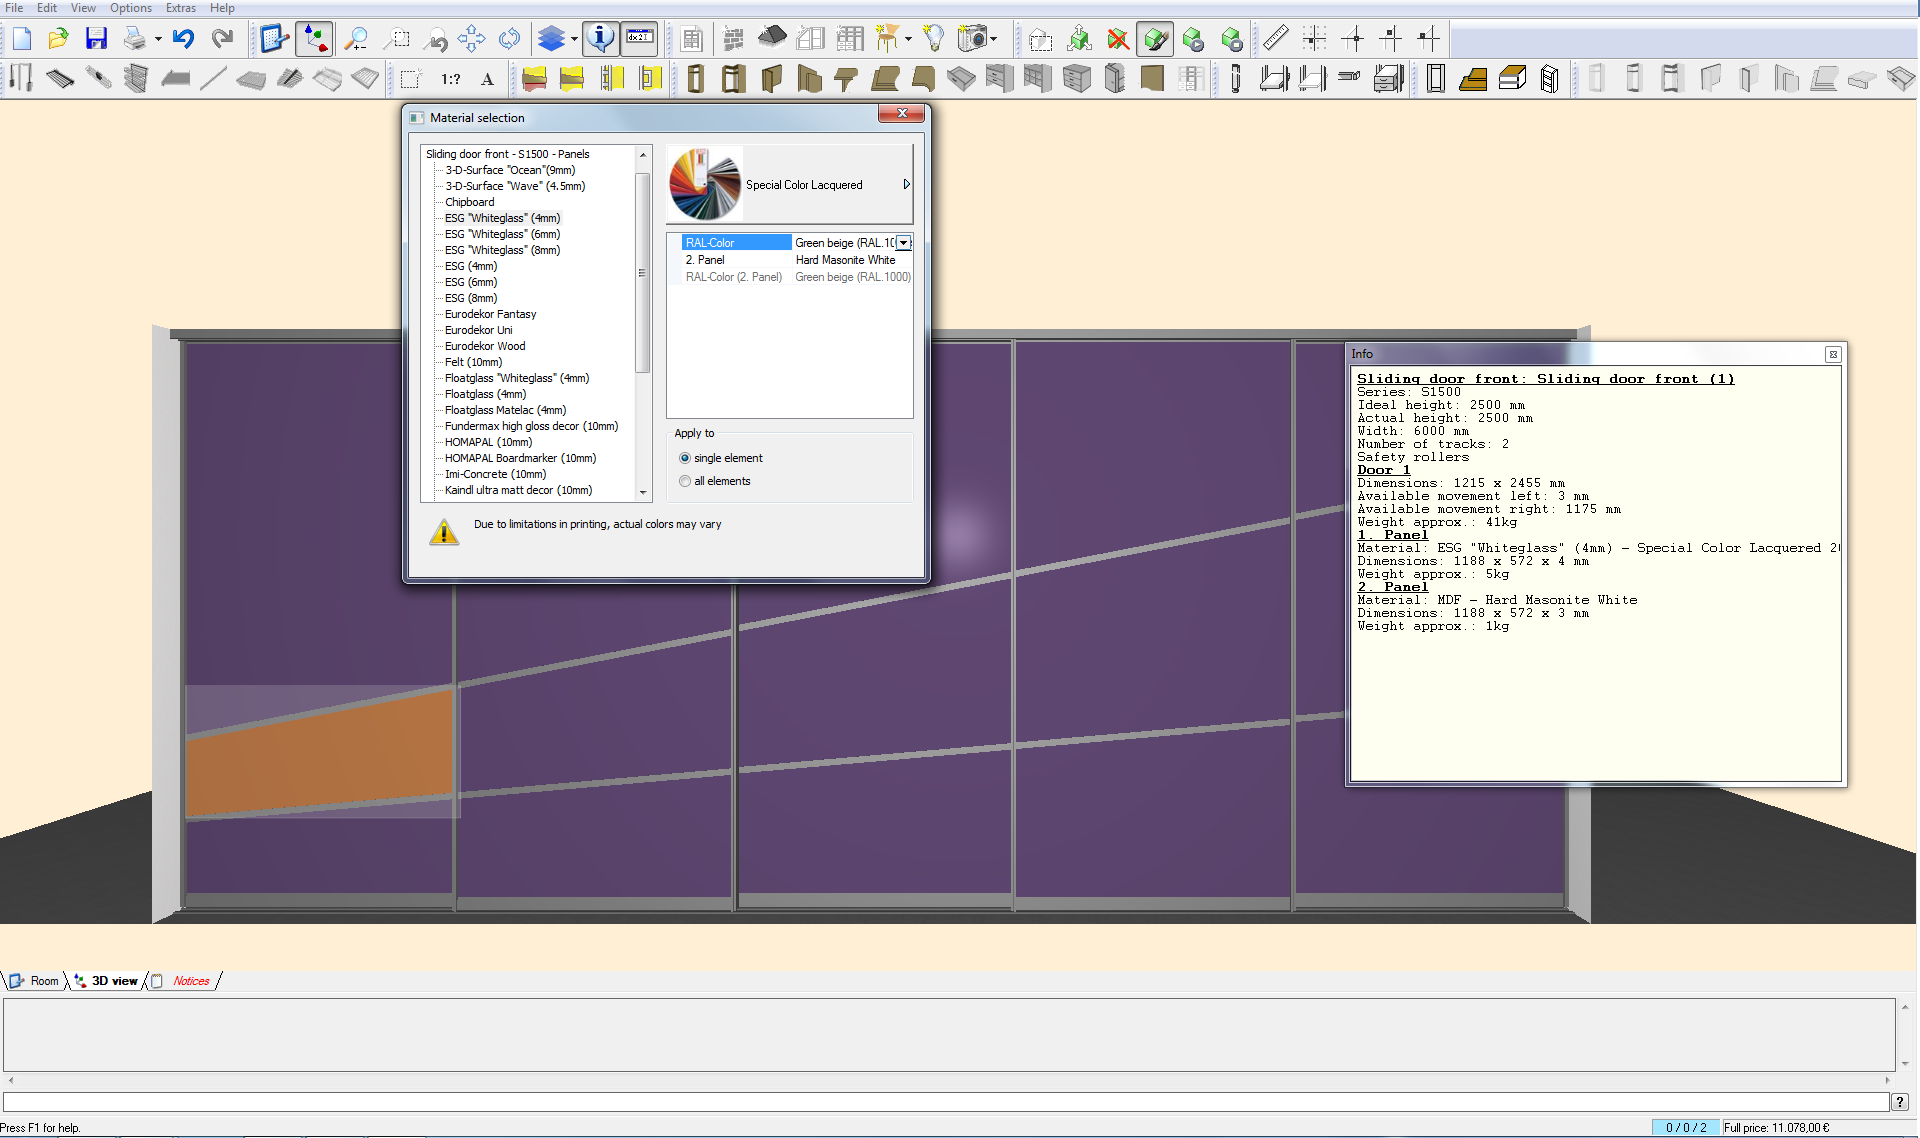
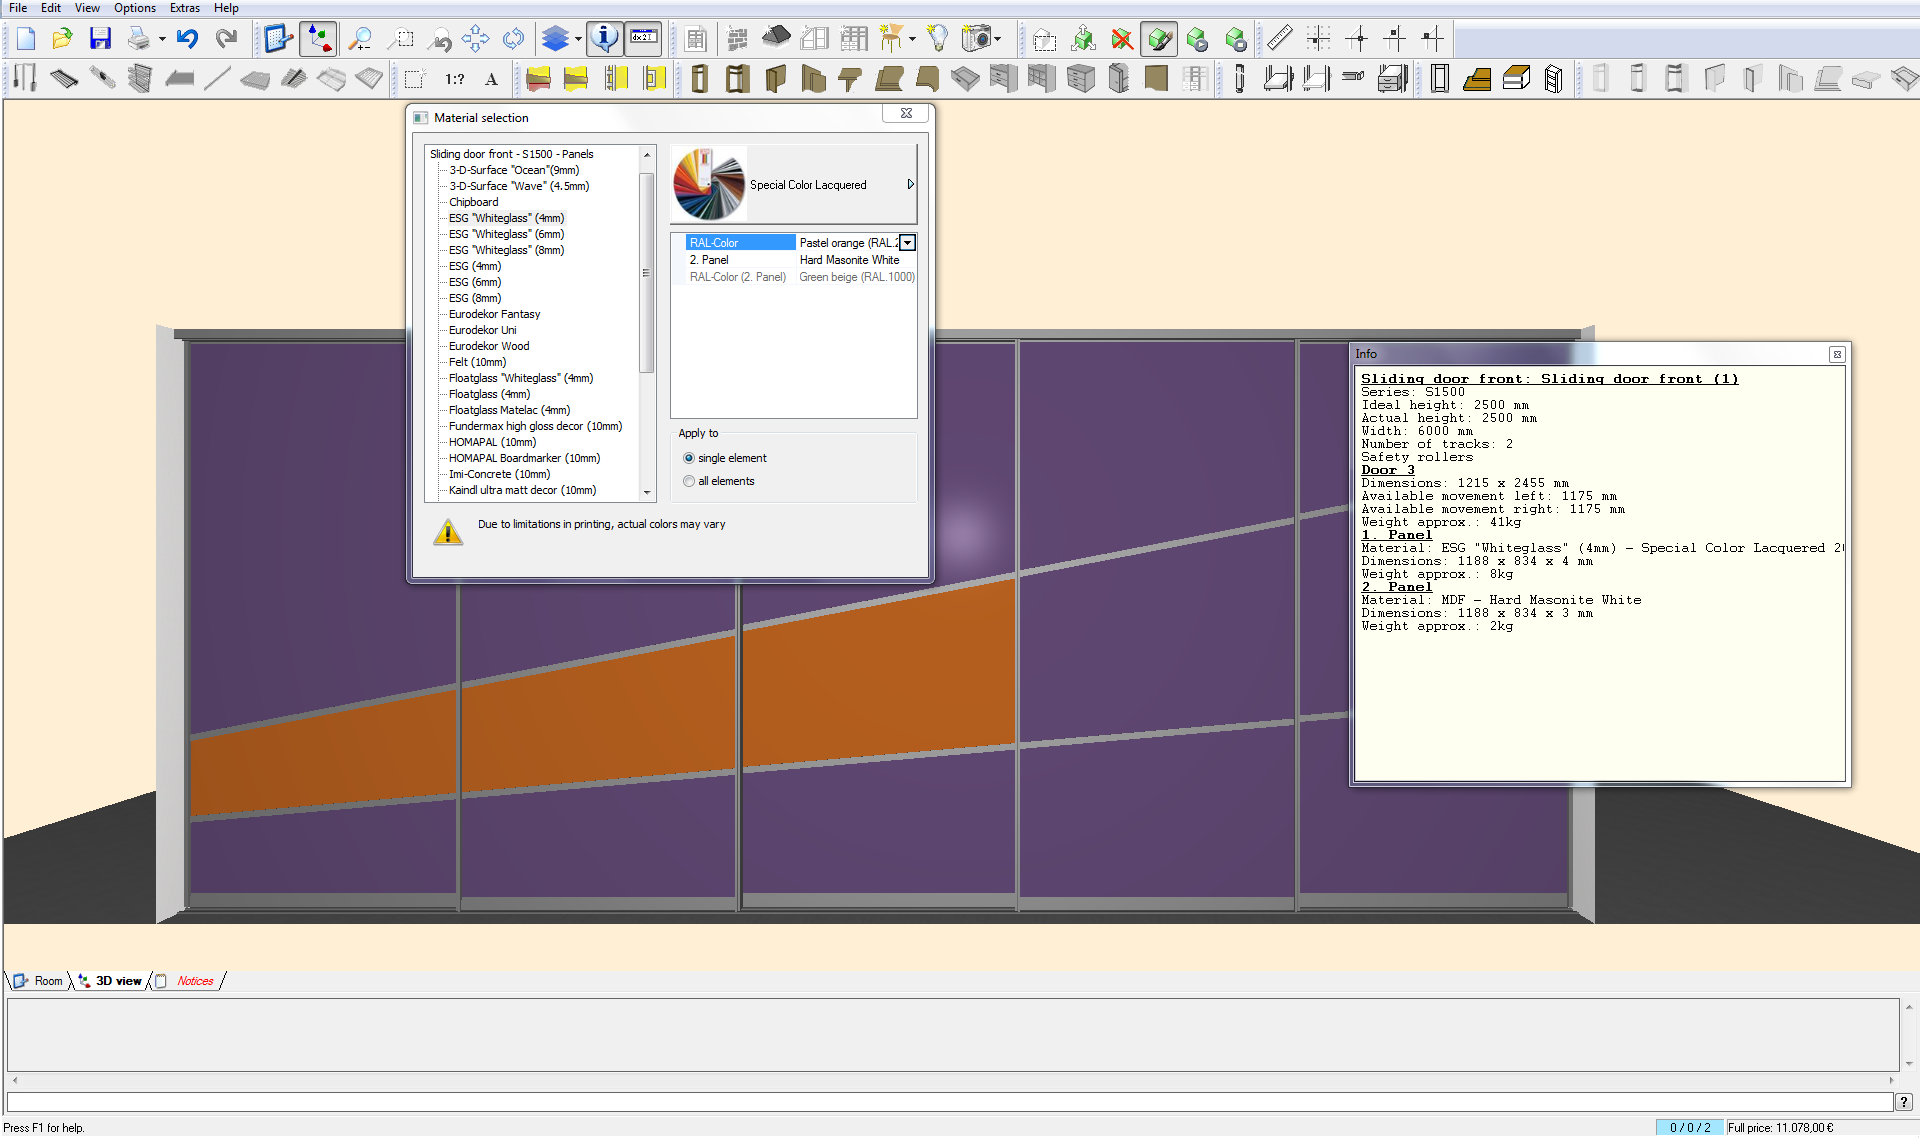
How to define panels for a sliding door front
– Select panel:
– If desired, de-select fiberboard (none) or select second panel for the rear side (only available for 4mm-thickness glass):

How to define additional panels parts

How to define profile surfaces for doors and tracks
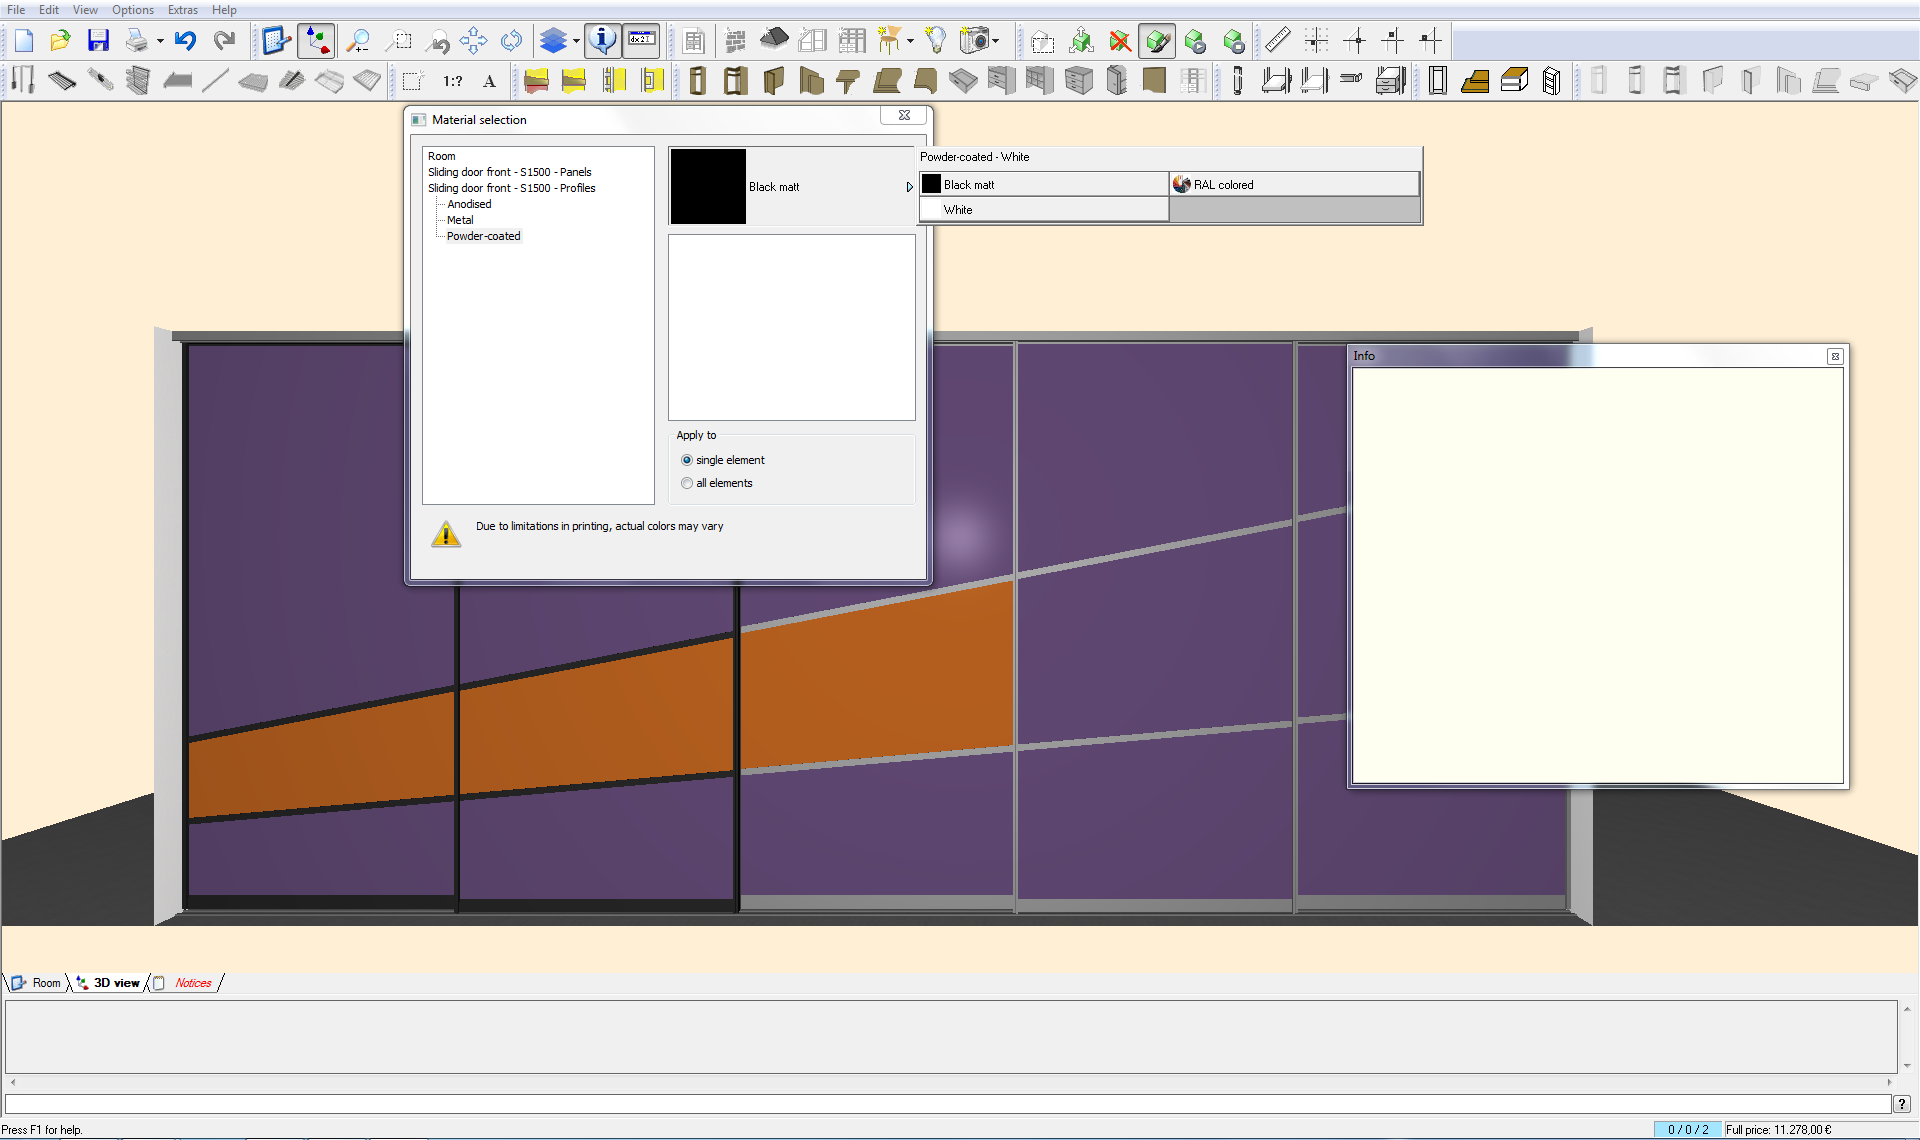
– Bottom track in white → Apply to one part → Click on bottom track
– Mouse on profile → The info window will display the profile surface
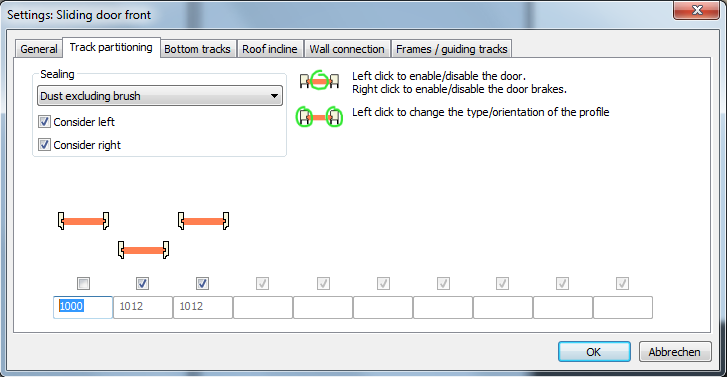
How to change the width of the doors
2. Remove check, enter desired dimension
→ This action will only work if there is a check in the system so that the planning program can calculate the difference
– All dimensions will immediately be recalculated
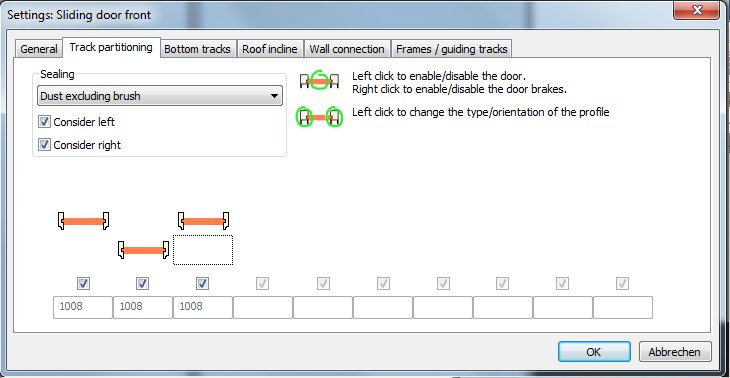
How to create a parking position
1. Left click on the parking position location (moves the door from the back to the front track)
2. A left click replaces the door with an empty space
→ The dust excluding brush will be removed automatically, the widths will be adjusted

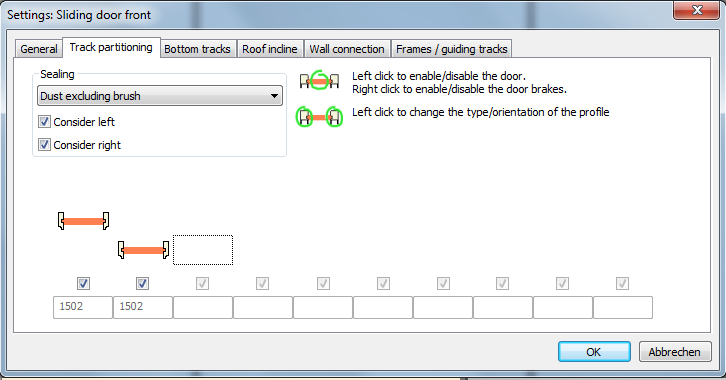
How to reduce the number of doors
2. Left click replaces the door with an empty space
3. Left click deletes the door
→ The dust excluding brush is activated automatically, the widths are adjusted
How to fit doors with sliding door brakes
1. First right mouse click on the door inserts a sliding door brake left
2. Second right click inserts a sliding door brake right
3. Third right click inserts sliding door brakes on both sides
4. Fourth right click deletes both sliding door brakes for the door
How to change door profiles

1. First left mouse click on the door profile changes the asymmetric profile from profiled to the front to profiled at the back
2. Second left click on the door profile changes the profile from asymmetric to symmetric
3. Third left click on the door profile changes the profile from symmetric to rectangular
4. Fourth left click on the door profile changes the rectangular back into asymmetric profile profiled at the front
