
Planning – Sloping Ceilings
![]() Switch to Roomprocessing.
Switch to Roomprocessing.
Select this symbol or click the right mouse button and select “room editor” (F2).
![]() Select ‘insert sloping ceiling’.
Select ‘insert sloping ceiling’.
Here you can see the dialogue for different settings.
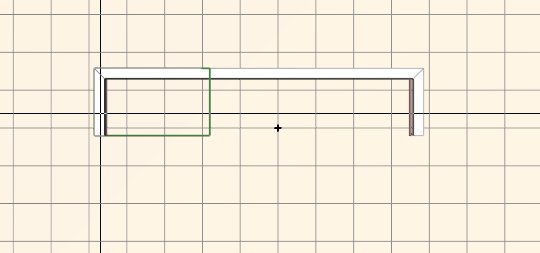
Insert sloping ceiling with the mouse
When you move the cursor over the wall you can see where you can insert the sloping ceiling. Click the left mouse button to fill in the sloping ceiling.
– Slanting: No → Enter room height → click near the walls
– The walls must be drawn in a clockwise direction! If not, no ceiling can be inserted
– Slanting: Yes → Enter room height and knee wall height, enter angle or width of the slanting ceiling → click near the walls
– The ceiling / slanting ceiling properties will be displayed in the info window (3D view)
– The ceiling / slanting ceiling properties can be changed can be changed using the corresponding pop-up menu (right mouse key on wall → Properties: Ceiling / Slanting ceiling)
Details about the sloping ceiling
Click the right mouse button in the 3D-view to find the dialogue for sloping ceilings. Here you can change the dimension of the sloping ceiling.