
User interface
The user interface of RP Designer is divided into different areas. You can specify and select different settings in these areas. The following section illustrates the different areas of the main view and give an deeper overview about this.
Areas of the main window
RP Designer is divided into seven areas. The following image shows these areas:
1. The main menu
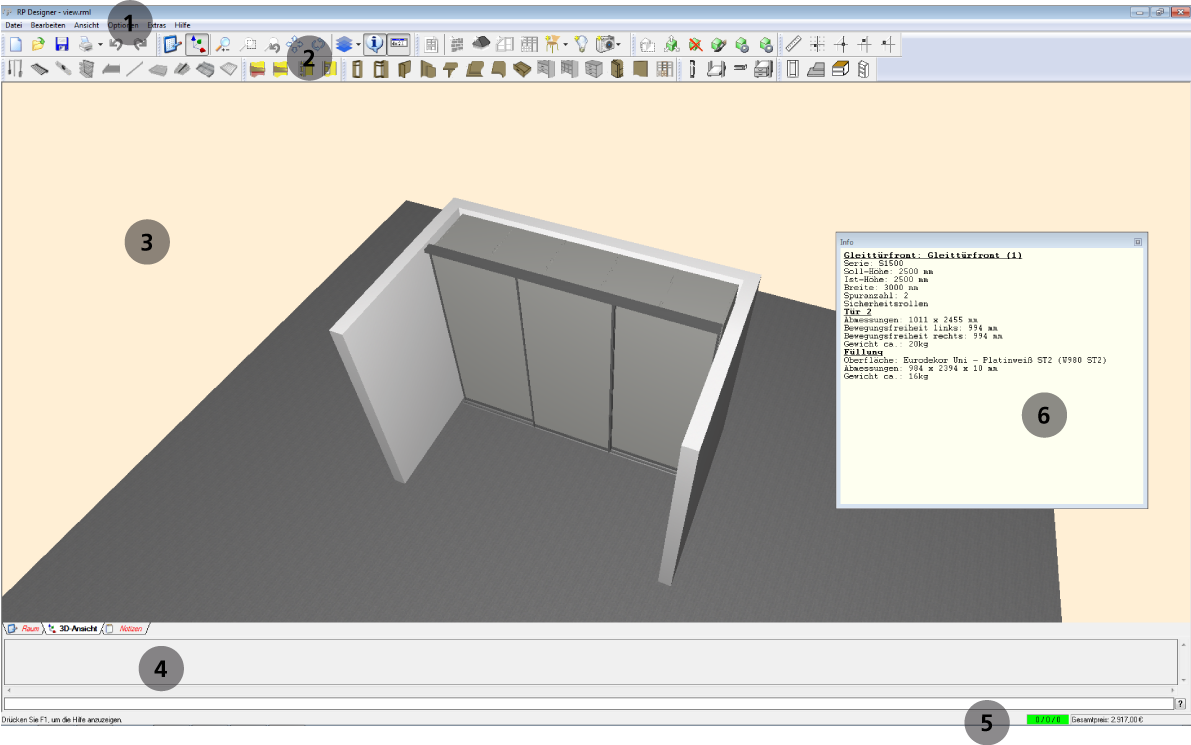
The main menu is located at the top of the main window. You will find items for saving, opening and editing your projects here.
See also: Main menu
Menus and Tools

– Main menu – File handling, settings and help
– Pop-up menus – Properties of elements, special commands for elements
– Tool buttons – Working with systems and details
Printig ![]()
– Offer
– Technical drawings
– Current view
2. The toolbars
Toolbars contain tools for editing your projects. They can also be used as short cuts to some functions of the main menu. Toolbars can be shown or hidden with the menu item View → Toolbars’.
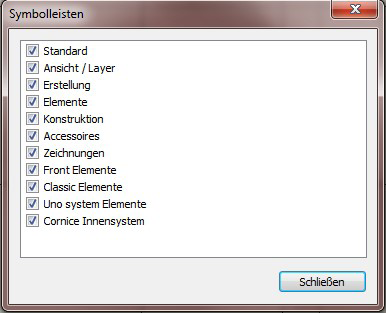
Toolbars (under View → Toolbars)
Construction toolbar
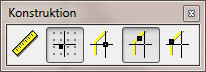
– Measurement → Press the cursor keys to measure horizontally or vertically
– Cursor grid: Grid alignment, No grid, Edge alignment, – To corner
View / Layer toolbar

– Room editing / 3D view
– Zoom view, – zoom with frame, undo zoom, move view, – turn – Show/hide levels
– Show/hide info window
– Show/hide console
Drawings toolbar
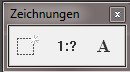
– Create, scale, label layout
Elements toolbar
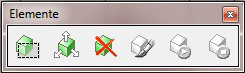
Element: Move region (2D view / Room) ![]()
– Select elements or parts of elements and move them using the mouse or console commands
-Console commands are: dx, dy:
→ Move in x or y direction:
dx [space] positive number: Move right
dx [space] negative number: Move left
dy [space] positive number: Move up
dy [space] negative number: Move down
Element: Move elements (3D view) ![]()
– Select element parts and move them using the mouse or console commands
Element: Delete elements (2D view / Room) / parts of elements (3D view) ![]()
– Select element parts and delete them using the mouse
Element: Animation / Re-set animation (3D view) ![]()
– Animate movable elements (sliding doors, hinged doors, drawers, accessories) by clicking them
Creation toolbar
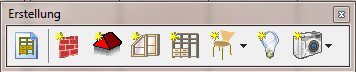
– Assistant
– Create wall, top, front, interior system
– Add decorations and lights
– Render image
3. The view area
The view area is basically divided into two kinds of viewing the scene.
-
The first kind is a 2-dimensional view (Room). In this view you create, move or delete complete systems like sliding door systems or interior systems.
-
The second kind of view is a 3-dimensional view (3d view). You can edit details of the systems here. You can e.g. add dividing rails in sliding door systems or move shelves in interior systems. You can use the keys F2 and F3 as a short cut to change between these views.
-
You can also change between different views by clicking on the tabs of the register.
See also: Views
4. The Console
The console serves as an interface for keyboard input.
See also: Console
5. The status bar
The status bar shows information and the current state of the project. It also shows the calculated prices of your order.
See also: Status bar
6. The information window
The info window shows detailed information about elements pointed to with the mouse cursor.
See also: Info window